


Cluster Details Pane
Enables you to view the details of the probe cluster selected in the Domains and Probes tree.
| To access | Select Data Flow Probe Setup > Domains and Probes pane > Domains and Probes root node > a domain > Data Flow Probes > a cluster. |
| Relevant task | |
| See also |
User interface elements are described below:
| UI Element | Description |
|---|---|
| Cluster Description pane | The description of the selected cluster. |
| Associated Probes pane |
Enables you to manage Data Flow Probes associated with the cluster.
|
 . Enables you to add Data Flow Probes to the cluster.
 . Opens the Trigger Query Editor dialog box and displays the defined TQL constraints for the selected Probe.
Ranges Pane
Enables you to define network ranges over which the Data Flow Probes in the cluster should perform discovery.
| Important Information |
|
User interface elements are described below:
| UI Element | Description |
|---|---|

|
New Range. Opens the New Range dialog box, enabling you to define a new network range for the selected probe cluster. For details, see New/Edit Range Dialog Box. |

|
Delete Range. Enables you to delete the selected range. Note You can also delete an excluded IP range. |

|
Edit Range. Opens the Edit Range dialog box, enabling you to edit the selected range for the probe cluster. For details, see New/Edit Range Dialog Box. Note You can also edit an excluded IP range. |

|
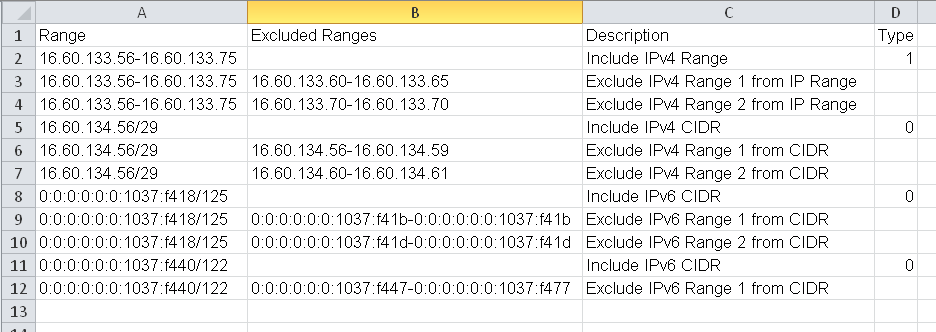
Export Data To File. Enables you to export the defined ranges in the following formats:
Note Ranges in CIDR notation can also be exported. |

|
Import Ranges from CSV File. Opens the Import Ranges from File dialog box, enabling you to select a CSV file from which to import a set of ranges. Before importing ranges, verify that:
|

|
Expand All. Expands the entire hierarchical tree structure to display all of the defined IP ranges, including the excluded IP ranges. |

|
Collapse All. Collapses the hierarchical tree structure, leaving the top-level IP ranges showing, but hiding excluded IP ranges. |

|
Show/Hide Legend. Shows/Hides the legend for the Ranges pane.
|
| <Ranges grid> | Lists the network ranges where the Data Flow Probes in the cluster perform discovery. For details, see New/Edit Range Dialog Box. |
 . Denotes the range of IP addresses included for the selected Probe.
 . Denotes a range of IP addresses to exclude from the defined IP range.