


Protocol Parameter Dialog Box
Displays the attributes that can be defined for a protocol.
| To access |
Select Data Flow Probe Setup > Domains and Probes pane > Domains and Probes root node > a domain > Credentials > a protocol. In the right-hand pane:
|
| See also |
|
 button.
User interface elements are described below:
| UI Element (A–Z) | Description |
|---|---|
| General |
|
| <Protocol attributes> |
Enables you to define/edit the protocol attributes for the credential. The fields displayed are based on the protocol selected. For details about the protocol attributes, see the section about the supported protocols in the Universal CMDB Discovery and Integrations Content Help. |
Enables you to define network IP addresses on which a Probe/probe cluster must discover CIs.
| Important Information |
|
User interface elements are described below:
| UI Element (A–Z) | Description |
|---|---|

|
New IP Range. Opens the New IP Range dialog box, enabling you to define a new IP range for the selected Probe/probe cluster. For details, see New/Edit Range Dialog Box. |

|
Delete IP Range. Select an IP range and click the button to delete a range from the list. Note You can also delete an excluded IP range. |

|
Edit IP Range. Opens the Edit IP Range dialog box, enabling you to edit the selected IP range for the selected Probe/probe cluster. For details, see New/Edit Range Dialog Box. Note You can also edit an excluded IP range. |

|
Export Data To File. Enables you to export the defined ranges in the following formats:
Tip To extract HTML code from the report:
Note Ranges in CIDR notation can also be exported. |

|
Import Ranges from CSV File. Opens the Import Ranges from File dialog box, enabling you to select a CSV file from which to import a set of ranges. Before importing ranges, verify that:
|

|
Expand All. Expands the entire hierarchical tree structure to display all of the defined IP ranges, including the excluded IP ranges. |

|
Collapse All. Collapses the hierarchical tree structure, leaving the top-level IP ranges showing, but hiding excluded IP ranges. |

|
Show/Hide Legend. Shows/Hides the legend for the Ranges pane.
|
| <Ranges grid> | The network range where the Probe/probe cluster discovers CIs. For details, see New/Edit Range Dialog Box. |
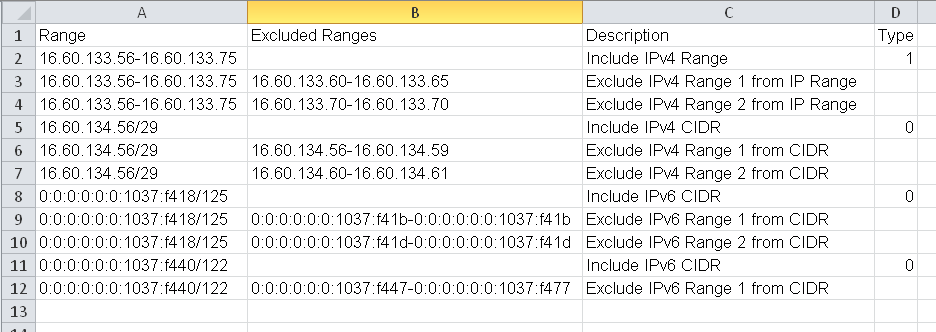
 . Denotes the range of IP addresses included for the selected Probe/probe cluster.
 . Denotes a range of IP addresses to exclude from the defined IP range.