


Timelines
A timeline is a graphic representation of lifecycle phases in a project or program, and the milestones contained in those phases. Timelines are used to monitor the progress of a program or project.
A phase is defined by specifying a time range, with a start date and an end date. A milestone marks a specific point in time (on a date that you specify).
To create a timeline
- In the Records section, click
 New. Service Management displays a New Timeline dialog box.
 - Enter a title for the timeline and click Save.
Note You can have multiple timelines, but only one can be active at a particular point in time.
To activate a timeline
Select a timeline in the list and click  .
.
To add phases to a timeline
- Click the title of a timeline in the list to display its details.
- Select the Phases tab.
- Click New phase to display the New phase dialog box.
-
Enter a title for the phase, as well as its start and end dates.
Note The dates of phases in a timeline cannot overlap.
- Click Save.
- When you are finished adding phases to a timeline, click
 Save on the main toolbar.
To add milestones to a phase
- Click the title of a phase in the list to display its details.
- Select the Milestones tab.
- Click New milestone to display the New milestone dialog box.
- Enter a title for the milestone and its date.
- Click Save.
- When you are finished adding milestones to a phase, click Save on the main toolbar.
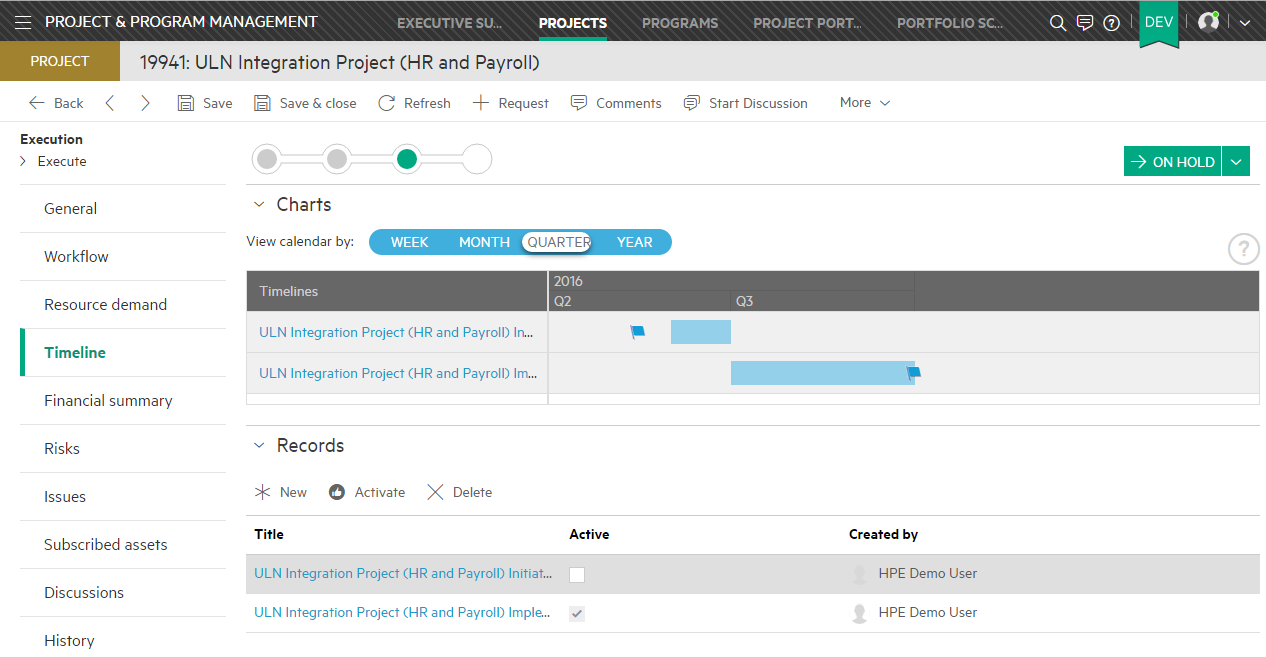
Graphic display
After you add phases and milestones to a timeline, a graphic representation of these timeline items is automatically displayed.
You can specify the granularity of the chart by selecting the appropriate breakdown (week, month, quarter, or year). A flag representing each milestone is displayed along the timeline.

Related topics


