


Install the SA Server discovery and agent
SA Client Server discovery and Agent installation identifies servers on your network that do not have Server Agents installed and installs (deploys) Agents onto those servers.
- Enabling server discovery and agent installation for UNIX and Windows servers
- Launching the SA Web Client
- Downloading and installing the SA Client launcher installation package
- Creating a user account with administrator privileges
- Creating an SA user as a member of the Software policy setters and Software deployers user groups
- Granting the software policy setters and software deployers user groups the required facility privileges
- Scanning for unmanaged servers on your network
- Bringing a server under SA management
Enabling server discovery and agent installation for UNIX and Windows servers
During SA Core installation, the SA Installer automatically installs all required software to perform server discovery and Agent installation from UNIX and Windows hosts . No other configuration is required.
Launching the SA Web Client
To launch the SA Web Client:
- In a supported web browser, enter the following URL:
http://<SA_hostname>where
<SA_hostname>is the host name or IP address of the server on which you installed SA. - The browser displays instructions for installing the required SA security certificate. The SA Web Client homepage appears.
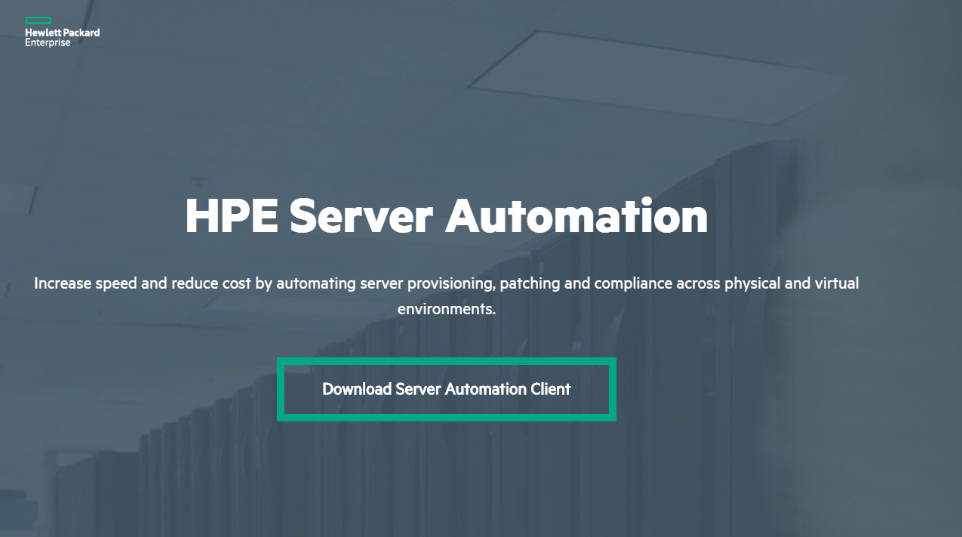
Downloading and installing the SA Client launcher installation package
You must download and install the SA Client, which is required for most SA features.
- From the SA Web Client homepage, click on the Download Server Automation Client button.
- Save the file to a directory on your local hard drive.
- Double-click the file to begin the installation and follow the on screen instructions.
Creating a user account with administrator privileges
Using the SA Client, you must create a new System Administrator user and assign the appropriate SA privileges.
See the "User and User Group Setup and Security" section in the SA 10.60
Creating an SA user as a member of the Software policy setters and Software deployers user groups
This user has the privileges to scan your facility’s network for servers not yet managed by SA.
See the "User and User Group Setup and Security" section in the SA 10.60
Granting the software policy setters and software deployers user groups the required facility privileges
See the "User and User Group Setup and Security" section in the SA 10.60
Scanning for unmanaged servers on your network
In this phase, you can use SA to scan your network to discover any servers not managed by SA. After SA discovers your unmanaged servers, you are given the choice to bring each server into the SA Managed Server Pool.
You can scan for unmanaged servers in several ways:
- By specified IP addresses
- By IP address ranges
- Using pre-prepared lists of IP addresses
This section does not attempt to describe all methods, rather it uses a single method for simplicity. For more information about scanning for unmanaged servers (using SA server discovery and Agent installation), see the SA 10.60
Perform the following tasks to scan for an unmanaged server on your network:
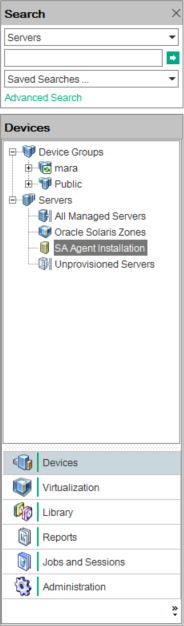
- Log on to the SA Client as the SA Superuser you created above by double clicking on the SA Client program file or shortcut.
-
On the SA Client main screen, select the Devices tab and then select SA Agent installation in the navigation pane.
-
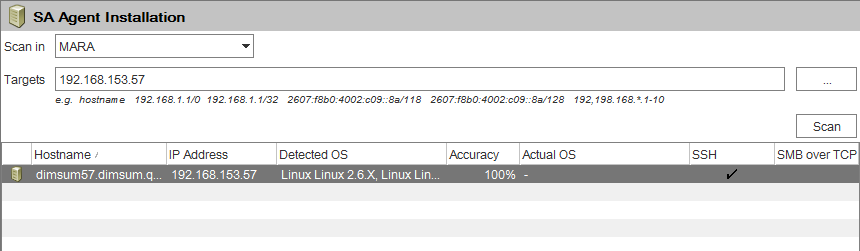
In the Targets field, specify a list of specific IP addresses to scan, separated by spaces (commas are not supported). Click the ellipsis (...) button to display a simple text editor that allows you to enter multiple IP addresses. You can also save the file for future use. Click OK to populate the Targets field with the IP addresses you entered.
- Click Scan start scanning for unmanaged servers.
When the scan is complete, a list of discovered unmanaged servers is shown. SA displays each server’s:
- status
- IP address
- host name
- detected operating system
any open ports that can be used to connect to the server
Sample unmanaged server scan results
Bringing a server under SA management
- Select the servers you want to manage with SA. The SA Client supports hot keys to make multiple selections.
-
From the Actions menu, select Install SA Agent. This displays the Install SA Agent wizard:
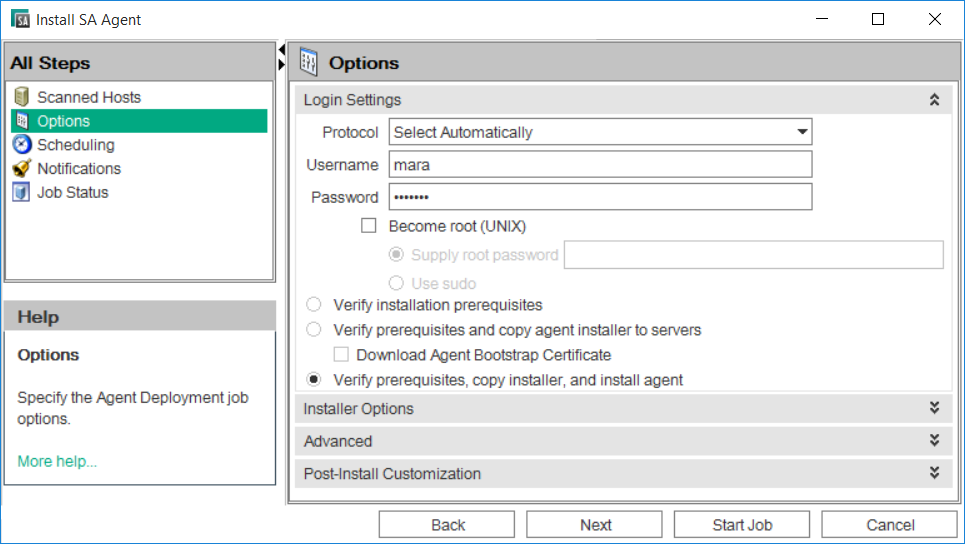
- Select a network protocol to use for connecting to the server from the drop-down list.
In most cases, choosing Select Automatically to allow SA to select an appropriate protocol for each server is recommended.
For VMware ESXi servers where the Linux-based service console (COS) has been removed, you must choose VMware ESX Web Services. - Enter a username and password to use for logging into the managed server.
- Windows-based systems: log in using the Windows administrator username/password.
- UNIX-based systems: log in as a user with root privileges. If logging in as
rootis not permitted, select the Become root (UNIX) checkbox. Select Supply root password and enter the password or select Use sudo ifsudoaccess is enabled for that account.If you log in using
sudo, the sudo user’s configuration file (typically/etc/sudoers) must allow the account to run any command with root privileges. This is typically accomplished by using the “ALL” alias in thesudoersfile.Note: If you are unable to bring the server under SA management by logging in as root, log in as a non-root user for agent deployment.
- Select Verify prerequisites, copy installer, and install agent.
See the Server Discovery and Agent Installation section in the SA 10.60
- Make any required changes under the Installer Options, Advanced and Post-Install Customization sections.
- Click Next then Start Job. SA performs the required actions on the selected unmanaged servers to bring them into the Managed Server Pool.
- The SA Client displays the results and updates the status icons for the new managed servers.
You can now use SA to manage these servers.