


How to build and manually optimize a scenario
-
From the , select Plan > Project & Program > Portfolio Scenarios. Service Management displays a list of project portfolios.
-
Select the portfolio for which you want to build an optimization scenario.
Note You must include at least one content item in a project portfolio in order to create a scenario.
-
Click
 New. Service Management displays a New Portfolio Scenario page. Service Management does not assign an ID until you save the scenario.
 By default, Service Management automatically selects all content items that belong to the selected portfolio and contain the necessary information. An information message is displayed if content items in the selected portfolio are missing relevant information. A graphic overview of relevant information for all the included items is displayed.
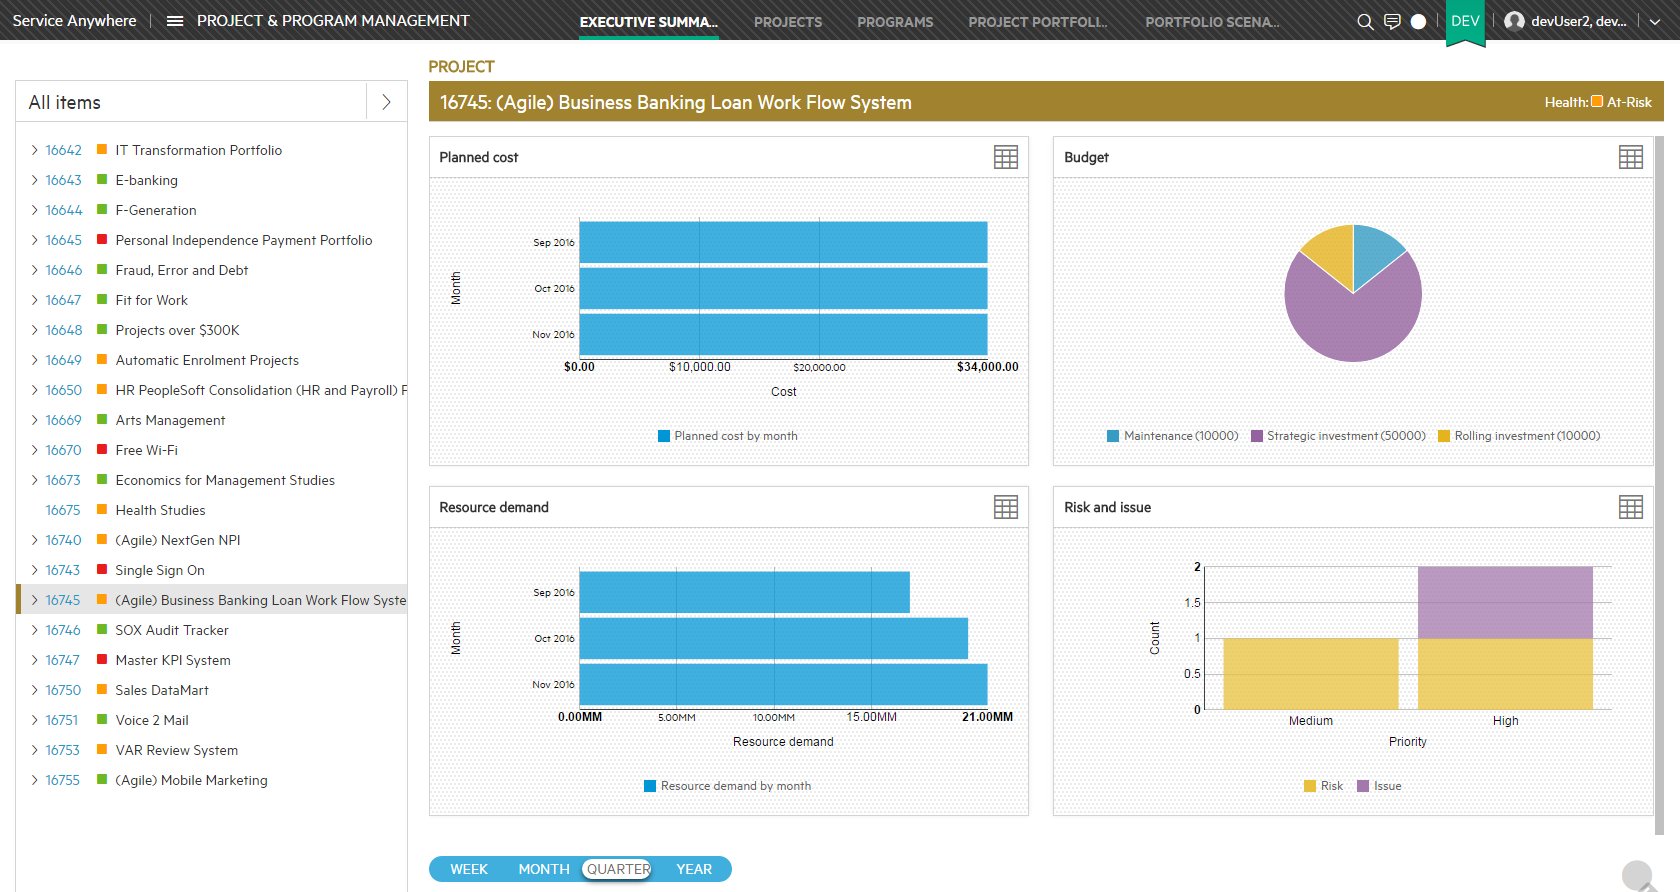
The top section displays the total cost, resource demand, and business value for all selected items , as well as resource demand by resource type, cost by business unit, and cost vs. budget by quarter. Changes that you make to amounts or values in the items included in the scenario are immediately reflected in these charts.
The following information is displayed:
Field Description Cost Displays the total planned cost for all of the selected items, and the difference between the planned cost and the total budget.
You can specify the monthly capacity for each of the months during the time range of the items.
If the cost of the selected items is within the budget threshold, the amounts are displayed in green. If the cost of the selected items exceeds the budget threshold, the amounts are displayed in red.
Note Cost and budget amounts may be shown in different units, depending on the scope of the difference between the amounts.
Resource Demand Displays the total demand for resources for all of the selected items.
If the resource demand for the selected items is within the budget threshold, the budgeted amount and excess above the cost are displayed in green. If the cost of the selected items exceeds the budget threshold, the amounts are displayed in red.
Business Value Displays the total estimated business value for all of the selected items.
By default, Service Management lists the following information for each item:
You can add or remove columns that are displayed. For more information, see List view columns.
Field Description Id The identifier of the item. Title The name of the item. Phase Id The current workflow phase of the item. Force in/out Indicate here whether particular items are taken into consideration when optimizing a scenario automatically. For example, you might choose to force in all items having to do with security issues (meaning that those items must be taken into consideration when optimizing a scenario automatically). Flexible Indicate whether the start and end dates of the item can be changed by dragging the highlighted time span in the Gantt chart.
Note This setting is relevant only for automatic optimizations. For more information, see How to optimize a scenario automatically using the embedded optimization engine.
Business value The estimated value that the item brings to the organization.
Note The estimated business value should be greater than 0.
Planned cost The total budgeted amount for the item. Resource demand The total demand for resources for each item. Priority The relative importance of each item to the optimization.
The priority has no effect on the optimization calculations.
Business objective The business objective to which this item applies. Business unit The business unit to which this item applies. Gantt chart Each line in the Gantt chart represents a single content item.
The Gantt chart includes all content items that belong to the selected project portfolio. You can include all of the portfolio's content items in the scenario, even those that do not fit within the specified time constraints. By default, the start date for the scenario is the earliest start date among all the selected items , and the end date is the latest end date among all the selected items.
If you restrict the time range for the scenario to a shorter time, the Gantt chart shows a highlighted area that emphasizes the time span between the start and end dates.

Content items that fall only partially within the specified start and end dates display a
 icon next to the item's Id. The data contained in these items is excluded when running an automatic optimization.
 -
To change relevant information in an item that is included in the scenario, click the project identifier in the Id column to display the details of the selected item.
-
Click
 Set constraints to set budget and resource capacity thresholds.
 -
In the General section, set the time range for which you want to evaluate the selected items.
-
In the Capacity section, specify the budget amount and resources available for each month of the item's time range.
Note You can only specify budget and resources for months that fall within the specified time range. If you shorten the time range, the budget and resources that fall outside the time range are discarded.
Click Mass update to configure multiple parameters for the following settings:
- In the Budget by month section, select Increase or Decrease from the drop-down list and enter a percentage to increase or decrease the amount that has been budgeted for each month. You can apply this value to the entire time range or to a selected portion of the time range. When you are finished, click Apply next to the selections.
- In the Resource by month section, select Increase or Decrease from the drop-down list and enter a percentage to increase or decrease the resource demand for each month. You can apply this value to all resources or to a specific resource type. When you are finished, click Apply next to the selections.
-
- When you are finished setting all constraints, click
 .
. -
Click
 Save Scenario when you are finished.
 To save the scenario with a different name for future comparisons, click
Save Scenario as.
Related topics


