


Provision the Target Servers
Once the custom configuration is created, it is listed on the HP-UX Provisioning APX on the SA Client. The target server waiting at the network boot prompt is listed under the unprovisioned servers list on the HP-UX Provisioning APX. The following section describes how to provision the targets.
HP-UX Provisioning APX
To access HP-UX Provisioning APX, follow these steps:
- Log on to the SA Client.
- Click the Library tab and select Extensions Web HP-UX Provisioning.
HP-UX Provisioning APX
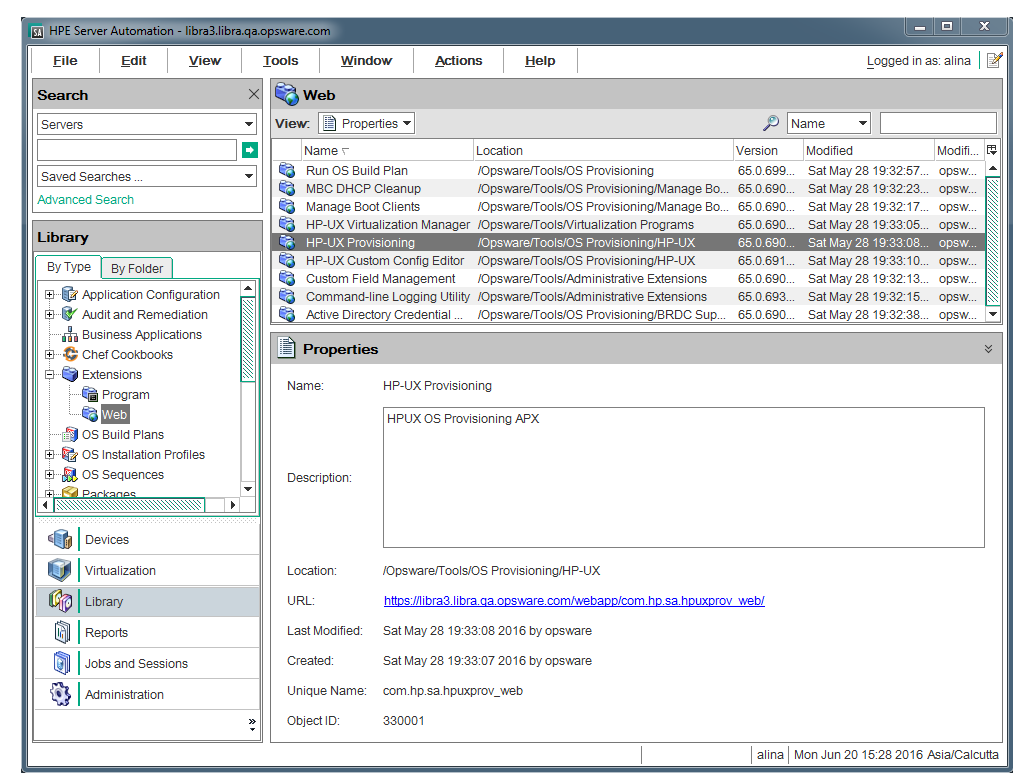
The HP-UX Provisioning APX popup window showing the HP-UX configuration opens.
HP-UX Provisioning APX – Listing of HP-UX Configurations
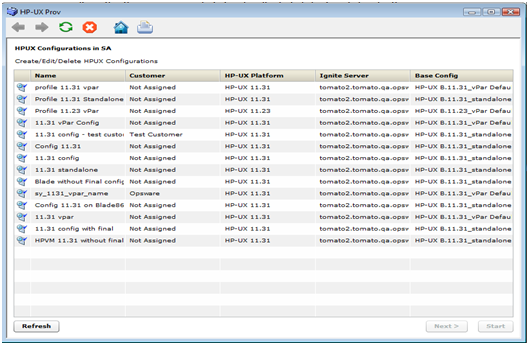
All the configurations created using the Custom Configuration Editor APX are listed on the HP-UX Provisioning APX based on permissions granted. Configurations are listed with Name, Customer, HP-UX Platform, Ignite Server, and Base configurations details. The Refresh, Next, and Start buttons are also displayed. Select the HP-UX configuration you want installed on the servers and click Next.
When you select a configuration, additional details, including Custom Configurations and Software policies of the chosen configuration, are displayed. When you select a configuration, the Next button is enabled.
HP-UX Provisioning APX – Select HP-UX Configuration
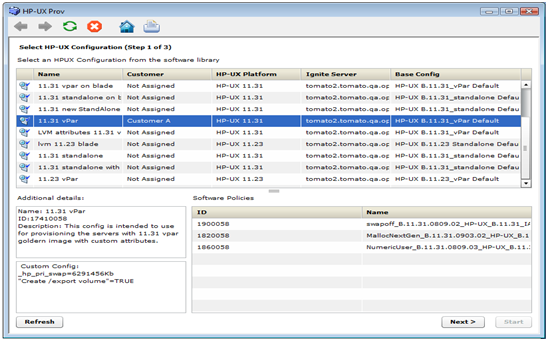
- Click Next to select the unprovisioned servers.
All unprovisioned servers waiting at the network boot prompt matching the selected configuration platform are displayed and show MAC address, install OS, Ignite Server and Model details. Servers in the Unprovisioned Servers list register their presence, but do not have an operating system installed.
- Select the server to provision. Hold down the CRTL key to select multiple servers to provision at the same time using the same configuration.
Select Client to Provision Using the Config Selected Before
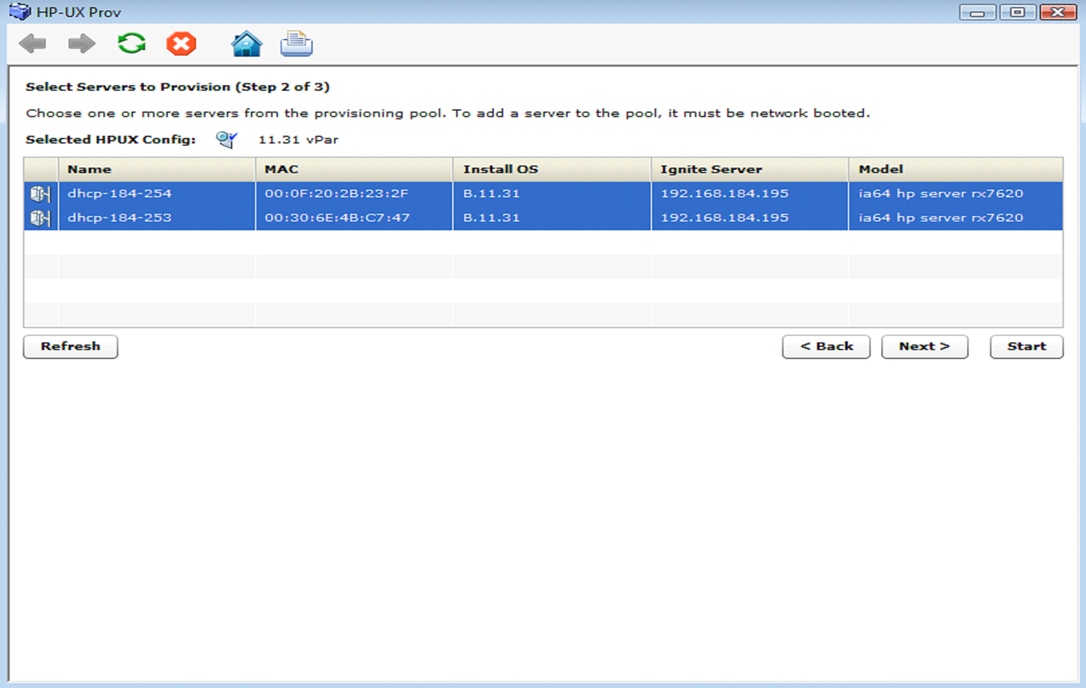
Once all servers are selected, provisioning starts immediately after you click the Start button.
- To set email notification, click the Next button. The following screen appears.
Set the Email Notification
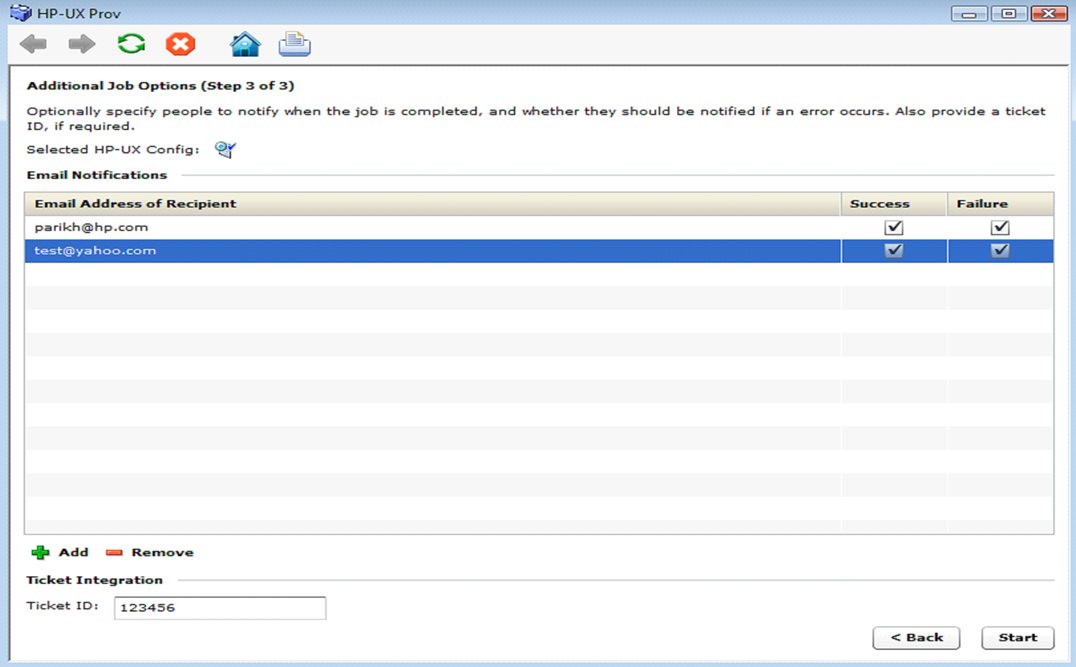
On Email Notification, by default, your email address (the user running the job) is displayed. To add additional email addresses, click +Add. Select the check boxes to receive notifications when job failure or success occurs. To remove an email address, select the address and click Remove.
You can also specify the Job Ticket ID in the Ticket Integration section. This Ticket ID is associated with the Job.
- When you click Start, the job is initiated for program APX and the Job ID is assigned to it.
Initializing the Provisioning Job
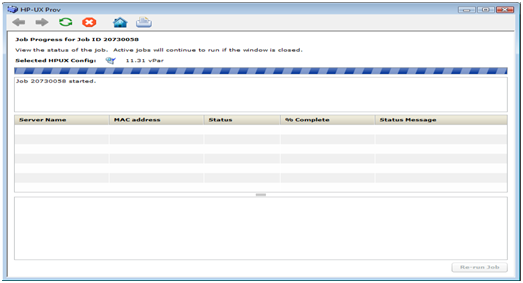
Initializing the Provisioning Job
If the provisioning job was initiated successfully on the servers, you will see the following screen. This screen has a progress bar that is refreshed with updated progress status messages. The following status messages are updated during the provisioning job:
- Waiting_to_install
- Prepare_Config_File
- Configure_Disks
- Download_mini-system
- Loading_software
- Build_Kernel
- Boot_From_Client_Disk
- Run_Postconfigure_Scripts
- Agent Install
- Remediate software policy
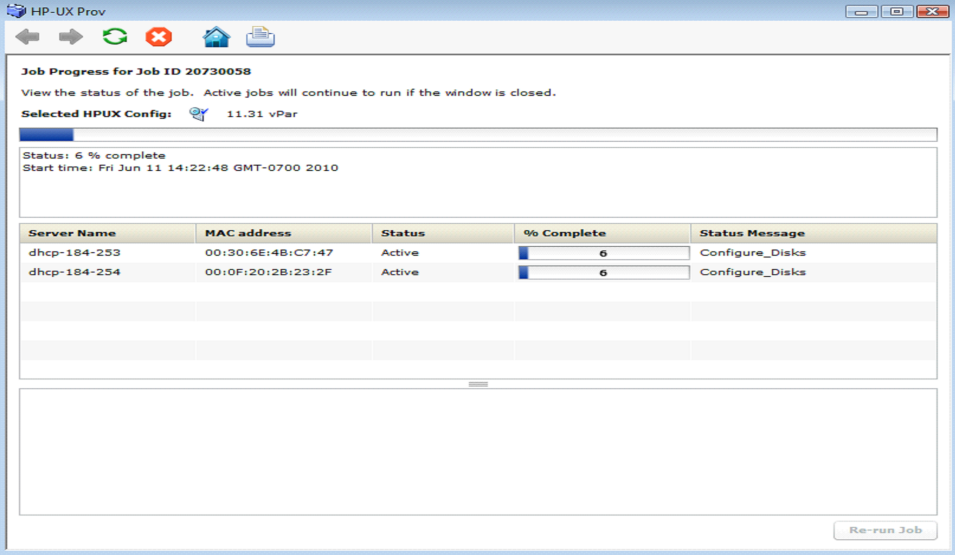
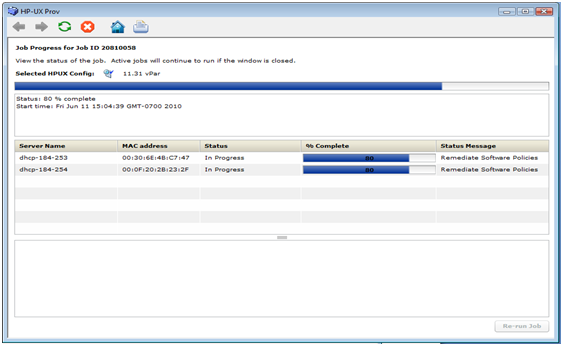
Progress Bar with Status Message
Once the provisioning job starts, two different progress bars are displayed. The consolidated progress bar displays the average percentage of progress on all servers being provisioned. It also displays the average percentage of jobs finished with the job start time.
The progress bar for each of the servers being provisioned shows the percentage of provisioning complete with Server Name, MAC address, Status, and Status Message details. The
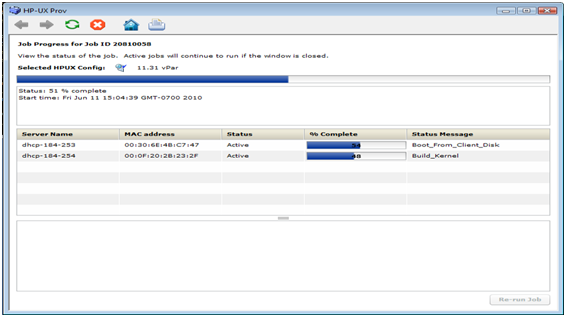
% CompleteandStatus Messageare updated along with the progress of the provisioning job.Progress Bar with Status Message Remediate Software Policies
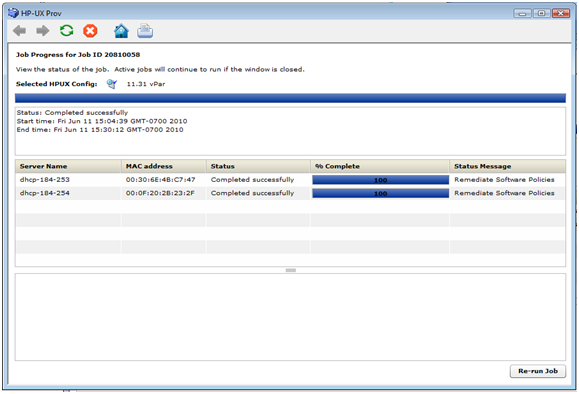
Once the server is provisioned, the agent is installed by default. Also, the software policies chosen in the configuration are remediated on the servers. When the HP-UX Provisioning job completes, an email is sent to you if you set up email notification.
Progress Bar with Job Completed Message
The provisioned servers are managed by SA. The servers are listed under Devices
All Managed Servers. Select the server, and then select Go to View Properties. You can see the customer value, which is the same as the configuration customer value. You can see the servers listed as managed servers only if you have permission granted for the customer.You can also verify the configuration name associated with the server. Go to View Custom Attributes. This can be useful to find out which configuration was used to provision the server.
Jobs and Sessions on SA Core
HP-UX Provisioning APX assigns the job ID. You can use the job ID to verify the job status at the following location: SA Jobs and Sessions Job Logs.
Job Status on SA Jobs and Sessions

You can also find the specified Job Ticket ID in the notifications tab by double-clicking the job.