


Provision Windows-based servers
Provisioning Windows Server 2012 R2 x64
- Network boot a server as described in Network booting.
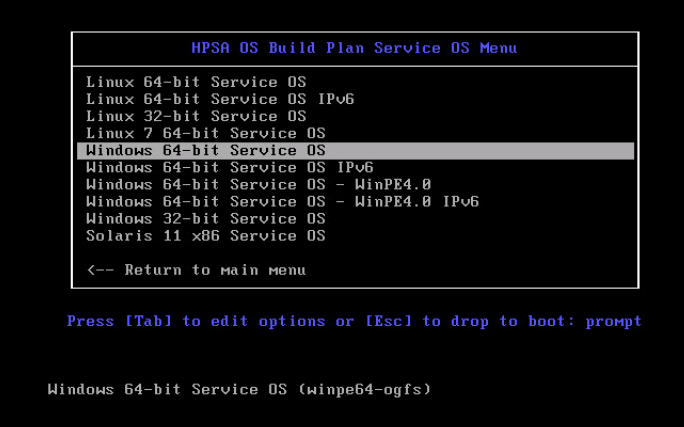
- On the network boot menu, select
SA OS Build Plan Service OS Menu.
- Select
Windows 64-bit Service OS.
- In third-party certificate mode, when the server shows a Please wait for the server to register with the HPSA core message, go to the SA Client and approve the server registration request. For more information on this approval step, see the Bring a server into Maintenance when working in third-party certificate mode section.
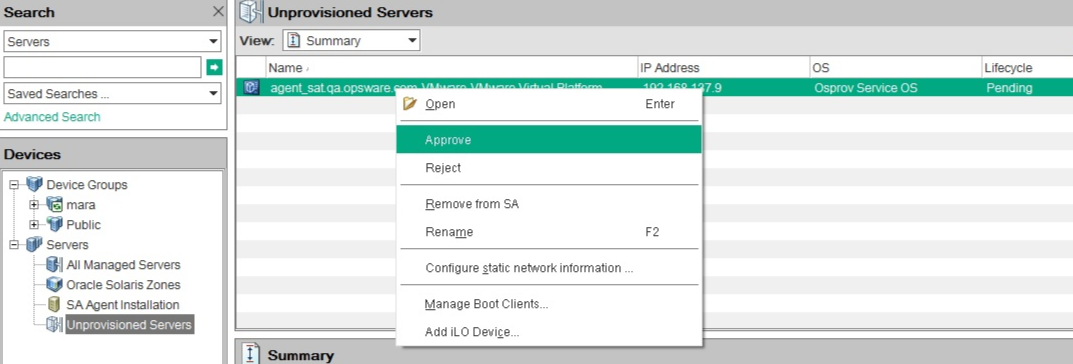
- Wait for the server to enter Maintenance mode.

- Note the server's IP address. This will help you identify the machine later on.
-
Prepare a media server and a SMB share with the Windows Server 2012 R2 x64 ISO unpacked on it in a specific location (ex: osmedia/windows/2012-r2)
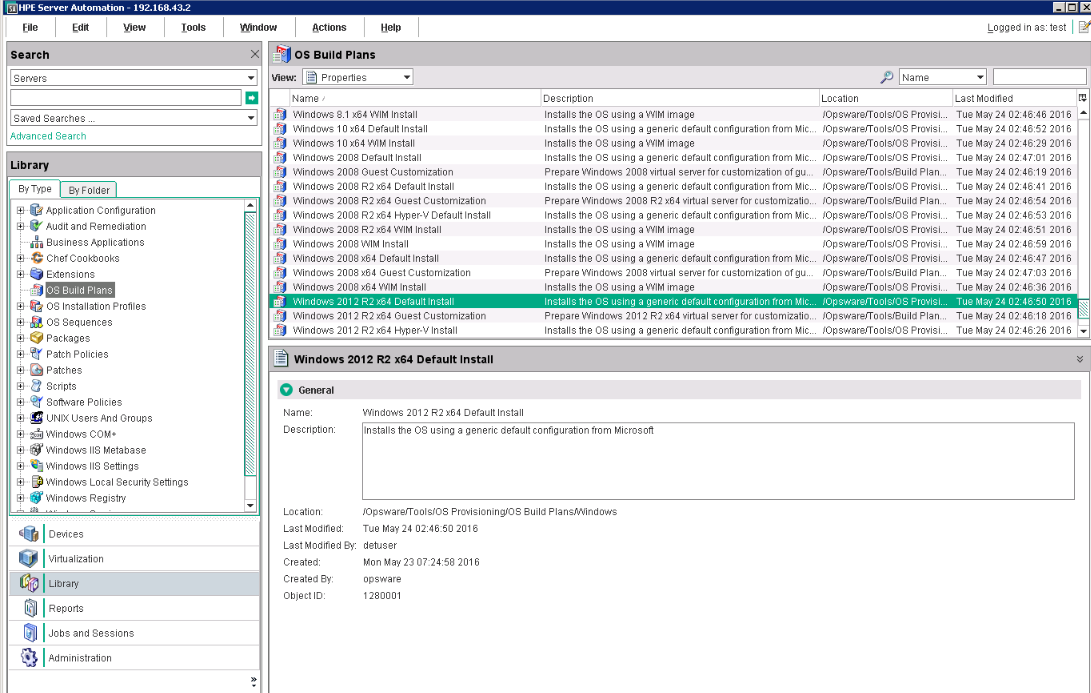
- Start the SA Client and in the Navigation pane, select Library, set the view to
By Typeand select OS Build Plans... -
Create a new Build Plan. Right click New. Name it accordingly. You can provide some description.
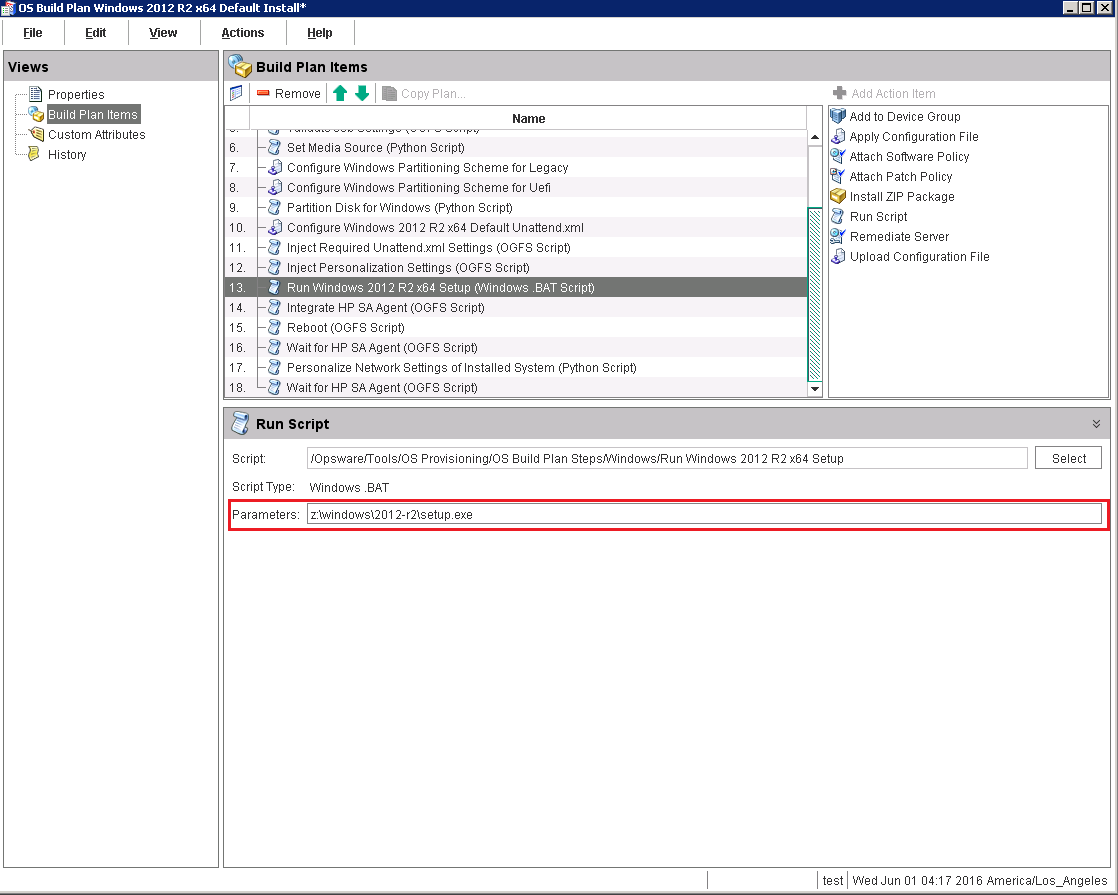
- From the Views panel tree, select Build Plan Items view, and click Copy Plan .... Then select Windows 2012 R2 x64 Default Install Build Plan.
- In the Build Plan Edit window, from the Views panel tree, select Build Plan Items. A list of Build Plan steps is displayed.
-
From the listed steps, select Set Media Source. The Run Script panel displays the Parameter setting for this step. Note the default protocol,
SMB, and the media path/osmedia. The media path must be updated to include the entire path to the unpacked Windows media. Under the specified path,setup.exeshould be available.
-
If partition customization is required, you can extend one of the following templates based on the server mode (Legacy Bios or Uefi):
- Configure Windows Partitioning Scheme for Legacy
- Configure Windows Partitioning Scheme for Uefi
-
Partition Disk for Windows step will auto detect the server mode if not specified and use one of the above templates to do the partitioning.
-
After the partitioning is done, the Partition Disk for Windows step will save disk and partitions details which will be used later by the Inject* steps when the "unattend.xml" is customized.

-
In the Edit Build Plan Views pane, select Custom Attributes.
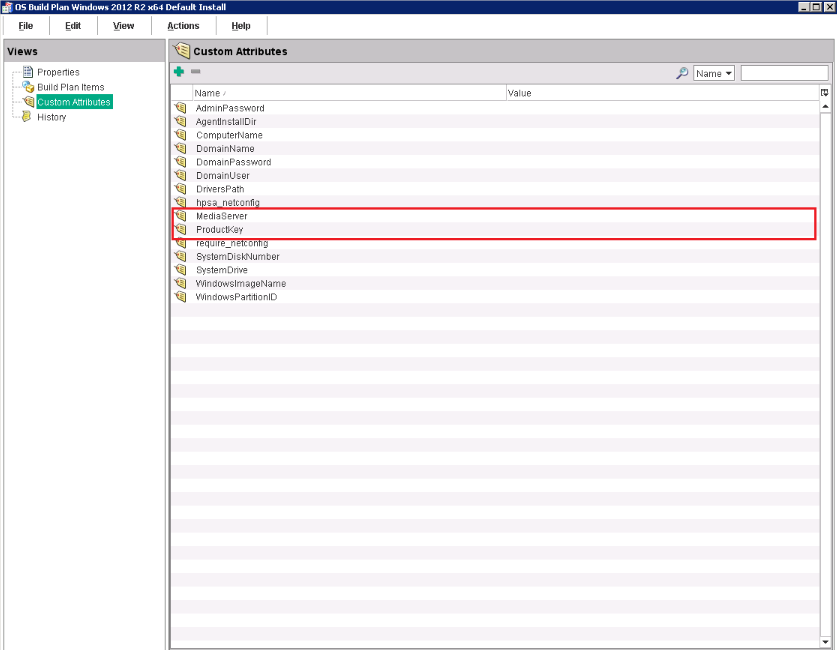
- Complete the MediaServer and ProductKey custom attributes as follows:
- MediaServer is the hostname or IP address of the media server.
- ProductKey must be a valid Microsoft Windows Server 2012 R2 x64 product key.
Optional: If you want to add an additional driver search path, specify the DriversPath custom attribute field as well.
Optional: When installing in a language/locale other than US English, in addition to selecting an appropriate media for installation, two custom attributes are defined in the default unattend.xml for convenience:
Language and Locale.
- Language: specifies the display language of the installed system
- Locale: specifies the locale (time and currency format, keyboard maps, etc.) of the installed system
- Both custom attributes are in IETF language tag format (for example, en-US for US English, ja-JA for Japanese, etc.)
- Save the Build Plan by pressing Ctrl+S or File > Save.
- From the Actions menu, select Run...

- The Run OS Build Plan window is displayed. Refer to the Starting the Build Plan section where the process is described.
- The Build Plan you specified will be displayed in the OS Build Plan pane.

-
When the Run Build Plan job is complete, the server should be up-and-running and managed by SA.