


Manage user groups
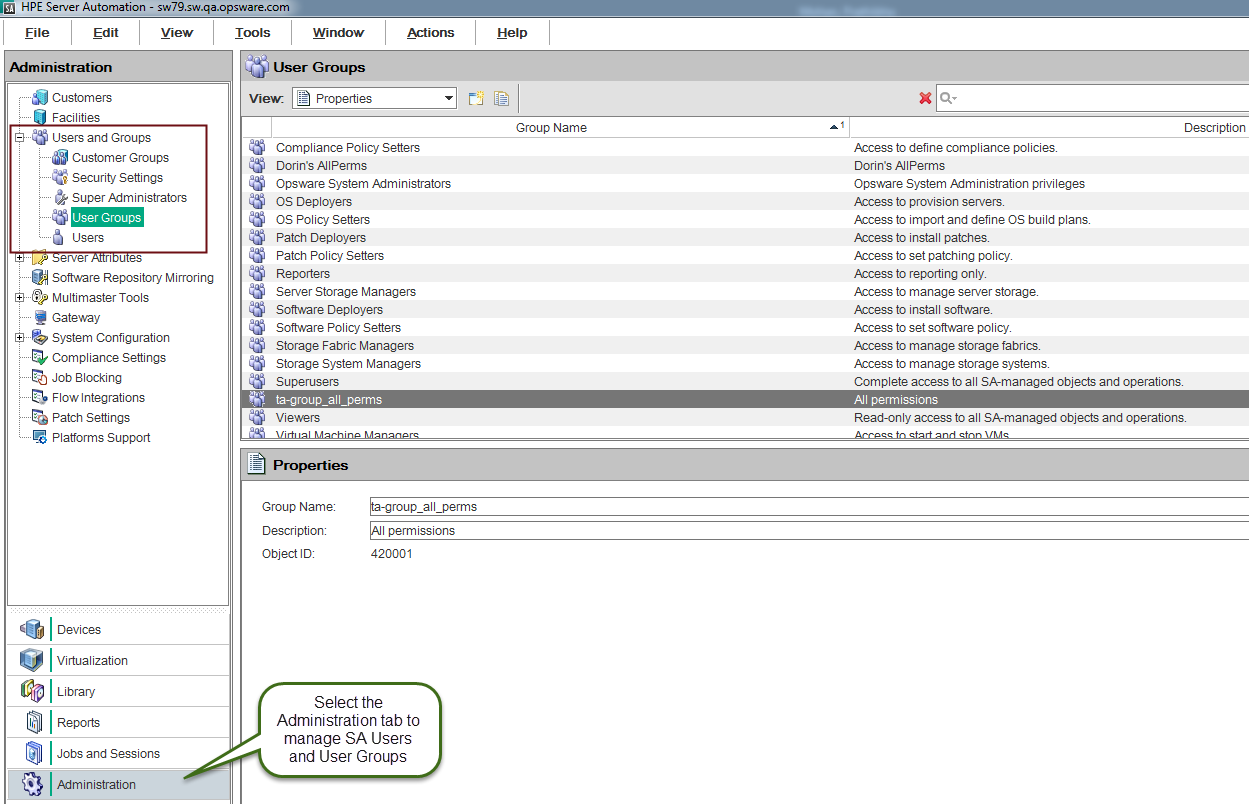
This section describes how perform tasks with user groups. To manage user groups, you must log in to the SA Client as a super administrator (admin) and select the Administration tab, as shown in the following figure.
User groups listed under the Administration tab
- Creating a new user group
- Viewing user groups
- Copying a user group
- Changing a user group
- Deleting a user group
- Adding a user to a user group
Creating a new user group
To create a new user group from the SA Client:
- In the SA Client, select the Administration tab in the navigation pane.
- Open the Users and Groups node in the navigation pane. This displays the User Groups node.
- Select the User Groups node. This displays all your user groups.
- Select the Actions menu or right-click and select the New menu. This displays the new user group window.
- Select the Properties view. Enter the name and a description for the user group.
- Select File > Save to save the new user group.
- Set the permissions for the user group and add users to the user group as described in Set permissions on user groups .
- Select File > Revert to discard your changes.
- Select File > Save to save your changes.
Viewing user groups
To view your user groups from the SA Client:
- In the SA Client, select the Administration tab in the navigation pane.
- Open the Users and Groups node in the navigation pane. This displays the User Groups node.
- Select the User Groups node. This displays all your user groups.
- Select a user group to display information about that user group.
- In the View drop-down list, select any of the following:
- Properties displays the name, description, and SA object ID of the selected user group.
- Users displays all the SA users who are members of the selected user group.
- Resource Permissions displays the customers, facilities, and device groups members of the user group have access to. It also lists the type of access to each customer, facility, and device group: Read access or read and write access.
- Folder Permissions shows the access permissions to folders in the SA Library granted to members of the group.
- Action Permissions show the actions that members of the user group can perform with the SA Client.
- OGFS Permissions show the Global Shell and Global File System actions that members of the user group can perform, the resources they have access to, Global File System, and what user name they will use to log in to managed servers to perform those actions.
Copying a user group
To duplicate an existing user group:
- In the SA Client, select the Administration tab in the navigation pane.
- Open the Users and Groups node in the navigation pane. This displays the User Groups node.
- Select the User Groups node. This displays all your user groups.
- Select the user group that you want to copy.
- Select the duplicate icon or select the Actions > Duplicate menu, or right-click on the user group and select the Duplicate menu. This displays the Duplicate User Group screen.
- Enter the name and a description of the new user group. The name must be unique.
- Select Duplicate. This creates a new user group that is a copy of the existing user group.
Changing a user group
User groups define resource, folder, action, and OGFS permissions. Every user who is a member of the user group has those permissions. To modify a user group from the SA Client:
- In the SA Client, select the Administration tab in the navigation pane.
- Open the Users and Groups node in the navigation pane. This displays the User Groups node.
- Select the User Groups node. This displays all your user groups.
- Select a user group. This displays information about that user group in the lower part of the screen.
- Select the Actions menu or right-click and select the Open menu. This displays the user group in a new window.
- In the navigation pane, select any of the following views:
- Properties displays the name, description, and SA object ID of the selected user group. You can change the name and description of the user group.
- Users displays all the SA users who are members of the selected user group. Use the “+” and “-” buttons to add and remove users from the user group. For more information, see Adding a user to a user group.
- Resource Permissions displays the facilities, customers, and device groups to which members of the user group have access. It also lists the type of access granted to each facility, customer, and device group: read access or read and write access. Use the “+” and “-” buttons to add and remove facilities, customers, and device groups from the user group and to set the type of access. For more information, see Set Resource permissions - facilities, customers, and device groups.
- Folder Permissions displays the folders in the SA Library and the access permission granted to each folder for the user group. Select a folder, select the Actions menu or right-click and select the Folder Properties menu to display the folder properties window. Select the Permissions tab to view and modify the permissions. For more information, see Set Folder permissions.
- Action Permissions displays the tasks that can be performed by members of the user group. Select the Permission column next to the permission you want to change and select the new permission. For more information, see Set Action permissions.
- OGFS Permissions displays the OGFS and Global Shell (OGSH) permissions. Select the “+” and “-” icons to add and remove permissions. For more information, see Set OGFS permissions.
- Select File > Revert to discard your changes.
- Select File > Save.
Deleting a user group
To delete one or more existing user groups:
- In the SA Client, select the Administration tab in the navigation pane.
- Open the Users and Groups node in the navigation pane. This displays the User Groups node.
- Select the User Groups node. This displays all your user groups.
- Select one or more user groups that you want to delete.
- Select the delete icon, select the Actions> Delete menu, right-click on the user group and select the Delete menu, or press the Delete key on your keyboard.
Adding a user to a user group
To add one or more users to any user group:
- In the SA Client, select the Administration tab in the navigation pane.
- Open the Users and Groups node in the navigation pane. This displays the User Groups node.
- Select the User Groups node. This displays all your user groups.
- Select a user group. This displays information about that user group in the lower part of the screen.
- Select the Actions menu or right-click and select the Open menu. This displays the user group in a new screen.
- In the navigation pane, select the Users view. This displays all the users who are members of the group.
- Select the “+” icon or the Actions > Add menu. This displays all the SA users.
- Select one or more users.
- Select the Select button. This adds the users to the user group.
- Select File > Revert to discard your changes.
- Select File > Save.