How to Create a Dynamic Widget from the UCMDB UI?
This end-to-end use case describes how to create a Dynamic Widget from UCMDB and demonstrates the resulting widget in the UCMDB Browser.
This use case includes the following tasks:
Task 1. Create a Dynamic Widget by using the Pattern View Editor
To create a Dynamic Widget, follow these steps:
- Log on to UCMDB, and then open the Modeling Studio.
-
Click New
 , and then select Dynamic Widget.
The New Dynamic Widget window opens.
-
Select Create new query, and then click OK.
The Pattern View Editor opens.
-
From the CI Types pane, drag and drop the BusinessElement and RunningSoftware CI types into the Query Definition canvas, and then add a Dependency relationship between the two CITs.
For detailed information about how to do this, see How to Add Query Nodes and Relationships to a TQL Query.
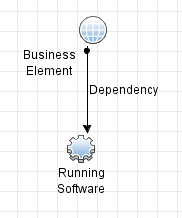
- Right-click the Business Element query node in the canvas and then select Set As Contact Query Node.
-
Click the Report button to switch to the Report Definition mode. For each node, select and add any needed attributes into the Report Layout column.
Note You can also add all the attributes for each node, and then enable the needed attributes in the Widget tab.
-
Click the Widget button to switch to the Widget Definition mode. Configure the values in the following four columns for each attribute:
- Overview: Defines if the attribute is visible in the preview mode for the widget. Up to six attributes can be visible.
- Details: Defines if the attribute appears after you click the Details button.
- Refocusable: Defines if the value of the attribute appears as a link that directs to the CI to which the value belongs.
- Group Name: Categorizes properties in groups.
Note All the above configurations only apply to the Properties Mode widget type.
-
Select the top level of the tree in the Hierarchy pane, and then select one of the following mode in the Widget Type field.
- Properties Mode
- Topology Map Mode
- Topology CIT Group Mode
- Topology Textual Mode
The Properties Mode displays attribute values from the nodes returned by the topology returned by the view that is created. All the other modes display a map of the topology.
Note If you change the widget type, the UCMDB Browser user need to log off and log on again to see the change in the resulting widget.
-
(Optional) If you set the widget type to Properties Mode, you can also group nodes by CI Type so that the information presentation is more structured.
The following steps demonstrate how to add a grouping on the Running Software node:
-
Click the View button to switch to the View mode. In the Hierarchy pane, drag and drop the RunningSoftware node under the BusinessElement node, as shown in the following screen shot.
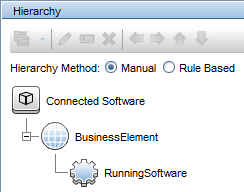
- Right-click the RunningSoftware node, and then select Add Group By CI Type.
-
- Click Save
 .
. - Enter Connected Software in the View name field, and then click OK.
Task 2. Enable or disable the widget for different roles
You can enable or disable the Dynamic Widget on a role basis. To do this, follow these steps:
- Go to Security > Roles Manager.
- Select the role for which you want to enable the Dynamic Widget.
-
In the Resource tab, under Resource Types, select UCMDB Browser Widgets.
You can see the new Connected Software widget under Available UCMDB Browser Widgets.
- Drag and drop the Connected Software widget to the Selected UCMDB Browser Widgets With Permissions column.
Task 3. View the resulting widget in the UCMDB Browser
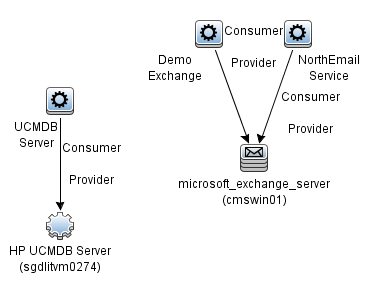
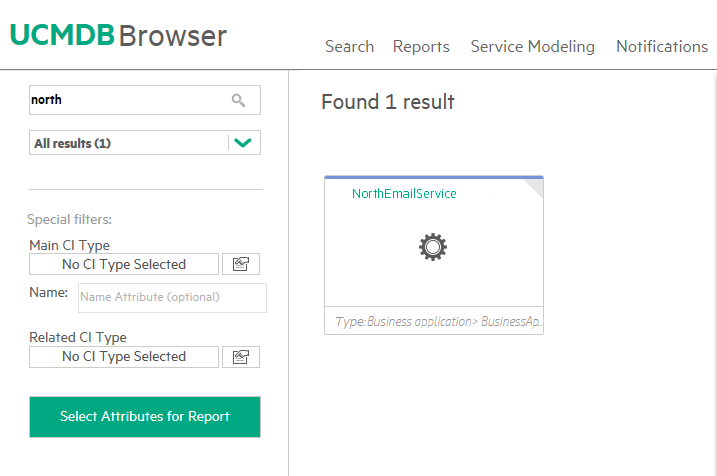
In the UCMDB Browser, to view the resulting widget of the Dynamic Widget created above, you need to search for a Business Element that has connected Running Software instances. If you do not know which Business Element has connected Running Software instances, you can preview the result of the Connected Software view from UCMDB and see which CIs have data. For example, the following result indicates that the NorthEmailService CI has data.
Therefore, you can search for NorthEmailService to view the data. The UCMDB Browser returns the result as shown in the following screen shot.
Note Make sure that you log on as a user that has the permission to see the widget.
The UCMDB Browser presents the information based on the configurations in step 7, 8, and 9 when you create the Dynamic Widget.
The widget type is Properties Mode
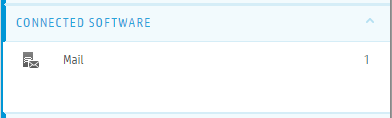
When you select the search result, you can see the following new widget.
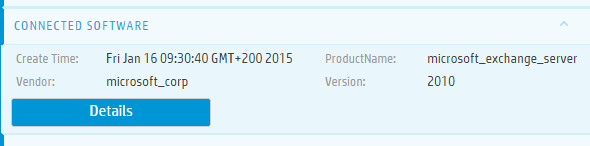
If the nodes are not grouped by CI Types, when you click the Details button, the detailed information is presented as follows. The attributes are grouped according to the defined group name.

If the nodes are grouped by CI Types, when you click the Details button, the detailed information is presented as follows.
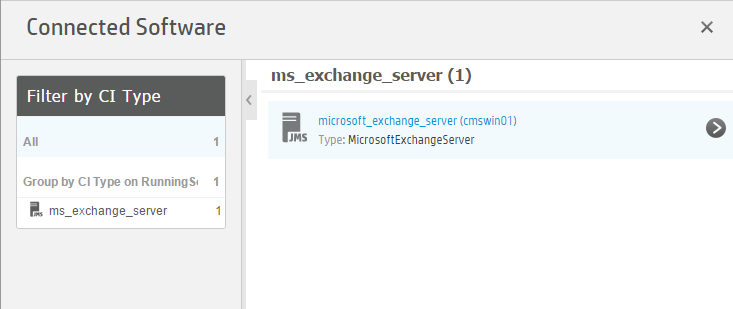
If there are more than one Running Software, they will be listed under the exchange server.
You can select a CI to view its properties, as shown in the following screen shot.
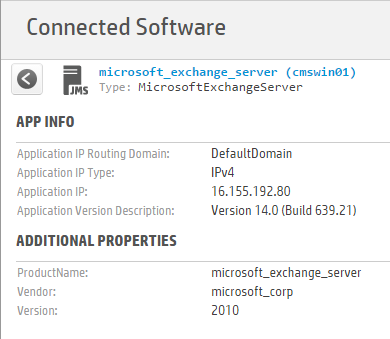
For instructions on how to group nodes by CI Types, see Step 9 on page 1.
The widget type is Topology Mode
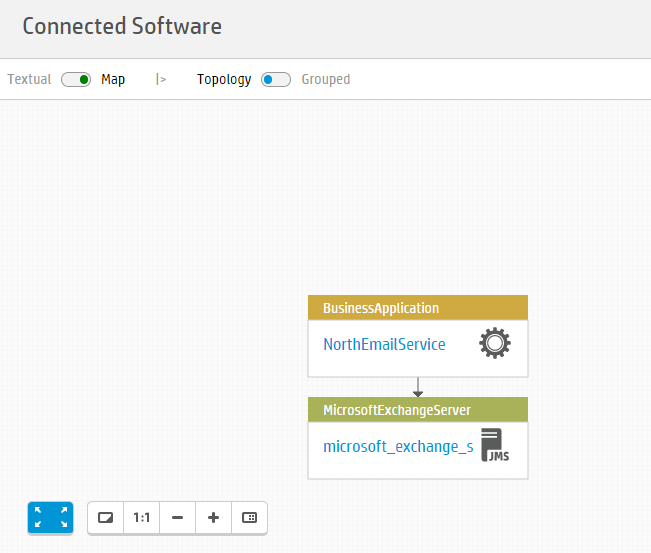
When you click the search result, the new widget appears as follows.
When you hover the mouse over the widget and then click the Details button, the following map appears.