


How to Upload .BIAR Files
Some Webi reports are supported in ITBA. You can view these reports in the relevant ITBA Dashboard pages. They are provided in the CSA CAP and the CSA_Demo CAP.
You can view these reports through the Dashboard pages that are linked to the BOE server.
Only the CSA CAP reports are imported into the BOE server automatically if you have configured the BOE connection while installing ITBA.
If you did not configure the BOE connection while installing ITBA, or if you want to view BO reports in the ITBA application, perform the configuration as in Optional - Install BOE Client on Windows Server or Optional - Install BOE on a Linux Server, then configure the Vertica Driver as shown in Optional - Install the Vertica Driver in the BOE Server and the BOE Client Server and then run the below steps.
Note Cloud_Billing.biar is needed for the reports provided in the CSA CAP while Cloud_Billing_Demo.biar is needed for the reports provided by the CSA_Demo CAP.
To import the Cloud_Billing.biar or the Cloud_Billing_Demo.biar:
-
Copy the .biar files from the ITBA server:
$HPBA_HOME /ContentPacks/CSA/INBUILT/BI/BOE/Cloud_Billing.biar
$HPBA_HOME /ContentPacks/DEMO_CONTENT/INBUILT/BI/BOE/Cloud_Billing_Demo.biar
- Log on to the SAP BusinessObjects Central Management Console (CMC) at: http://<BOE_Server_IP>:8080/BOE/CMC.
-
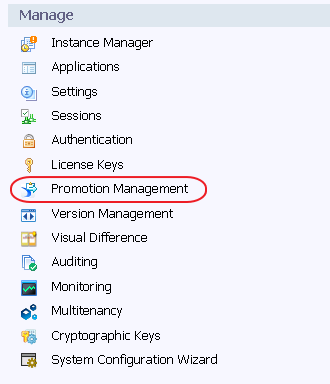
Click Promotion Management.
-
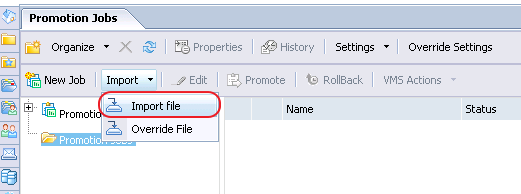
Click Promotion Jobs > Import > Import file.
-
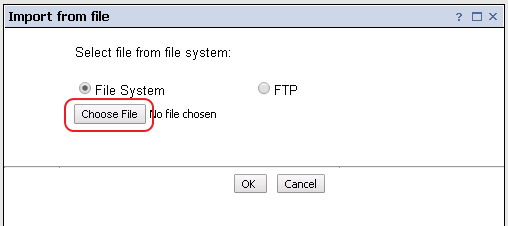
Click Choose File and select the relevant .biar file.
-
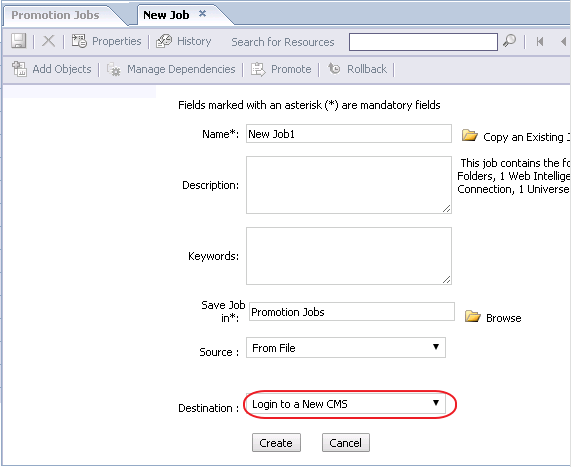
In the Destination field, select Login to a New CMS.
-
Enter the BOE server IP number or server name, user name, and password, and then click Login.

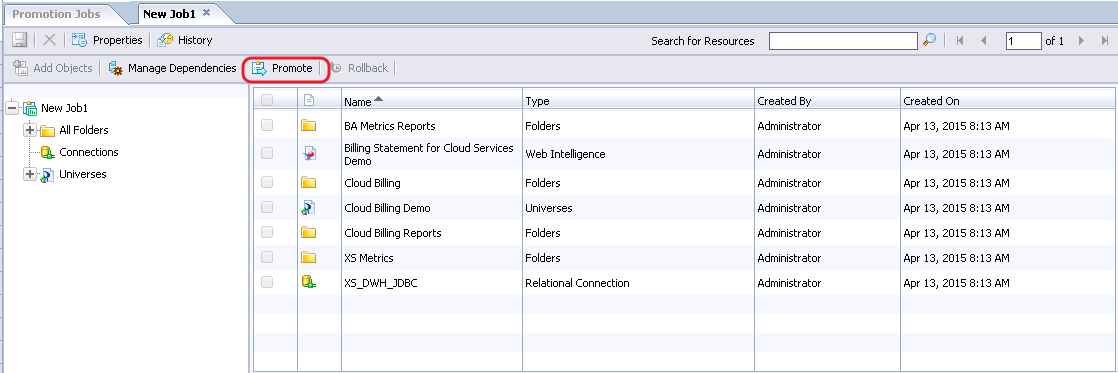
- Click Create to create promotion job.
-
Click Promote.
-
Click Promote.
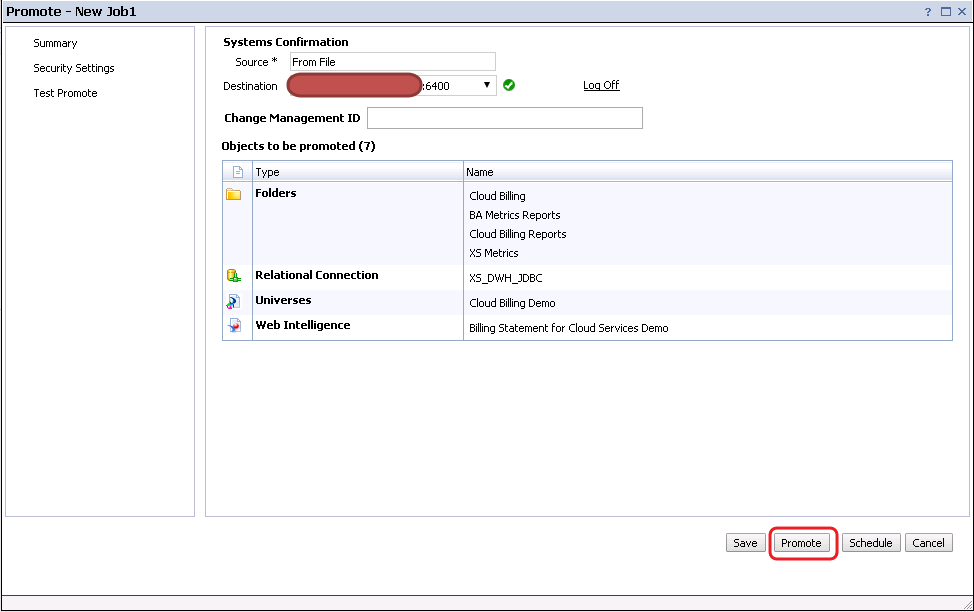
The .biar file is uploaded successfully.

-
Log on to the Universe Design Tool from the BOE Client.
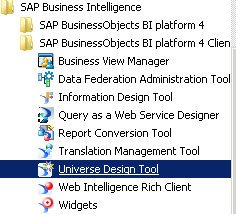
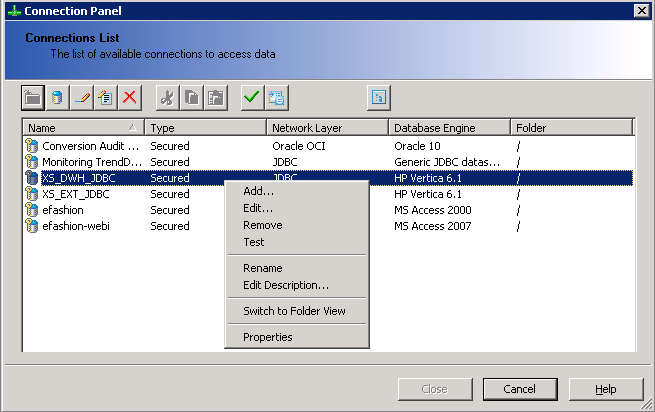
-
Click Tools > Connections…. Edit the relevant connection.
If you are uploading the CSA CAP, edit XS_DWH_JDBC.
If you are uploading the CSA_Demo CAP, edit XS_EXT_JDBC.
-
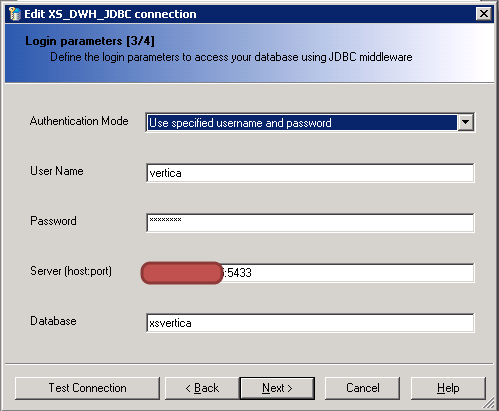
Enter the relevant connection message of the Vertica server and click Next.
-
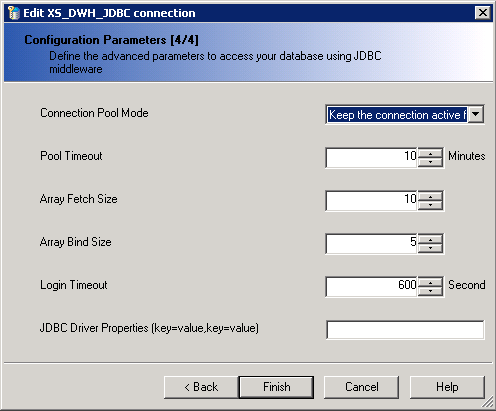
Click Next > Finish > Close.
The import of the .biar files is complete.
-
By default, the application schema name is BA, the extension schema name is ext, and the database name is xsvertica. If the customer server settings are different, change the as shown below.
-
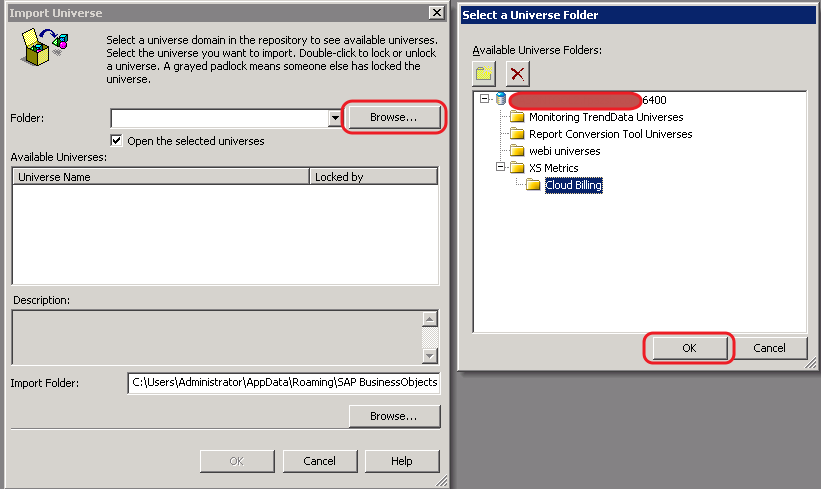
Click File > Import…, and select the Cloud Billing universe directory.
-
Select Cloud Billing and click OK.

-
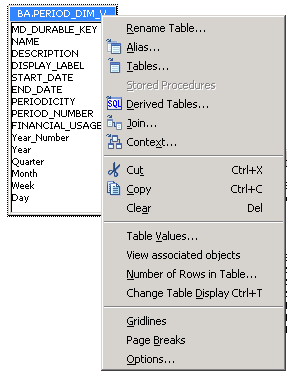
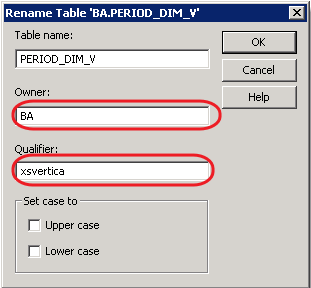
Right-click the relevant table, and select Rename Table.
-
In the Owner field enter the correct application schema name and in the Qualifier field enter the correct database name.
-
After modifying all the relevant tables as shown above, click File > Export….
-
Click OK to upload the changes to BOE the server.
-
- Proceed in the same way for the Cloud Billing Demo universe directory.