
Searching the Help
To search for information in the Help, type a word or phrase in the Search box. When you enter a group of words, OR is inferred. You can use Boolean operators to refine your search.
Results returned are case insensitive. However, results ranking takes case into account and assigns higher scores to case matches. Therefore, a search for "cats" followed by a search for "Cats" would return the same number of Help topics, but the order in which the topics are listed would be different.
| Search for | Example | Results |
|---|---|---|
| A single word | cat
|
Topics that contain the word "cat". You will also find its grammatical variations, such as "cats". |
|
A phrase. You can specify that the search results contain a specific phrase. |
"cat food" (quotation marks) |
Topics that contain the literal phrase "cat food" and all its grammatical variations. Without the quotation marks, the query is equivalent to specifying an OR operator, which finds topics with one of the individual words instead of the phrase. |
| Search for | Operator | Example |
|---|---|---|
|
Two or more words in the same topic |
|
|
| Either word in a topic |
|
|
| Topics that do not contain a specific word or phrase |
|
|
| Topics that contain one string and do not contain another | ^ (caret) |
cat ^ mouse
|
| A combination of search types | ( ) parentheses |
|


![]()
![]()

- System Administrator
- Logon
- Splash Screen
- Launch or Stop the Business Analytics Application
- Configure CAC
- Licenses
- About Users, Roles, Resources, Permissions, LDAP, and Dimension Permissions
- Users and Roles - User Management
- Users and Roles - Role Management
- Users and Roles - Resource Management
- Users and Roles - LDAP Management
- LDAP in BusinessObjects
- Users and Roles - Dimension Permissions
- Settings
- Settings - Data Warehouse
- Settings - Foundation
- Settings - Single Sign On
- Settings - Pages
- Settings - Website
- Settings - Dashboard Settings
- Settings - Engine Settings
- Settings - Score Thresholds
- Settings - BA Settings
- Apache Web Server
- Security Recommendations
- LW-SSO
- Cryptography
- Set Up Java
- Localization and Globalization
- Xcelsius Reports
- Browsers and BOE Reports
- Notifications - Entity Report
- External Tools
- Migrate from a Development or Test Environment to Production
- Vertica Back Up
- Business Analytics Back Up
- Disaster and Recovery
This section describes how to configure SAP BusinessObjects Enterprise internal LDAP.

 Setting Up LDAP Authentication in BusinessObjects
To configure the LDAP Server settings in BusinessObjects:
-
Log on to BusinessObjects Central Management Console using the administrator name and password.
-
Click Authentication to access the authentication options in BusinessObjects.
-
Double-click LDAP.
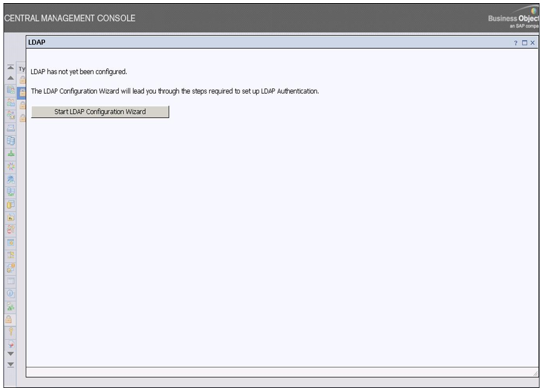
-
Click Start LDAP Configuration Wizard. The system displays the following screen:
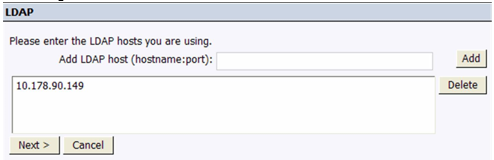
-
Add the IP address and port number for the LDAP server. Click Next. The system displays the following screen:

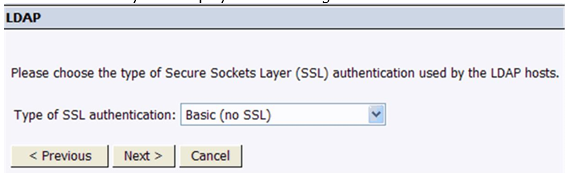
-
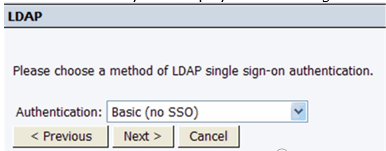
Click Next.
-
Enter a name for the base LDAP and click Next. The system displays the following screen:

-
In the LDAP Server Type drop-down list, select your LDAP server, and click Next. This is where you select the type of server you are using: Sun One or Active Directory.
If you select Active Directory:
- Click Show Attribute Mappings.
- In the Default User Search Attribute field, change the value from cn to sAMAccountName.
- In the User Name field, change the value from cn to sAMAccountName.
-
Click Next.
-
Click Next.
-
Click Next.
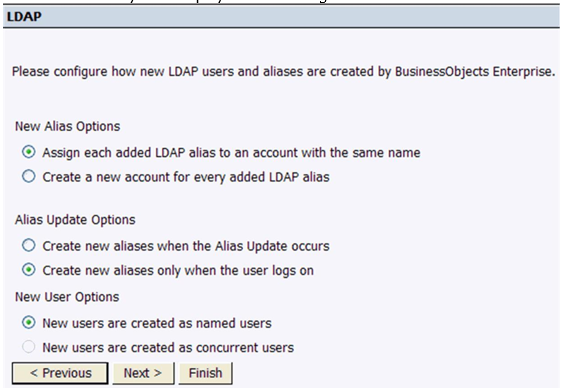
-
Select the relevant New User Options:
-
New users are created as named users
-
New users are created as concurrent users
-
-
Click Next. The wizard reports when it has collected all the required information.
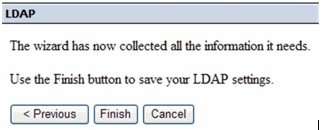
-
Click Finish.
-
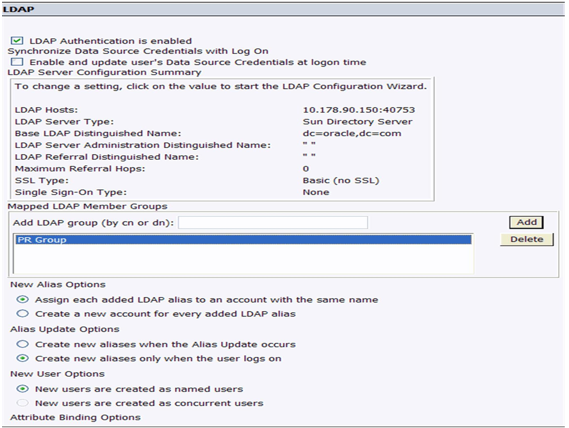
Wait until the system displays the LDAP screen.
-
Locate the Add LDAP group (by cn or dn) field in the LDAP screen. Type the Group Name configured in LDAP Server, and click Add.
-
Scroll downwards and click Update.
-
Map the LDAP member group whose users you want to authenticate through LDAP.
For example, PR Group is the member group whose users are part of Argus Insight and use LDAP authentication for access to BusinessObjects.
-
Select Create a new account for every added LDAP alias under the New Alias Options on the LDAP window.
-
Close the window.
-
Navigate to Home, Group List, and then right-click PR Group (LDAP) and select Member Of. The Member Of dialog box opens.
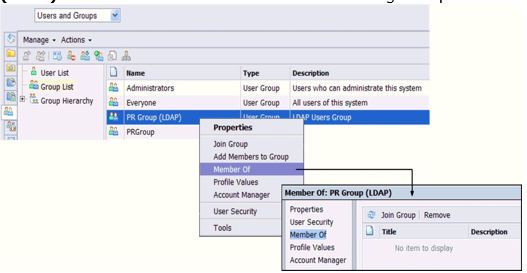
-
Click Join Group.
-
Navigate to Group List, select PRGroup, and then click the right arrow (>) to add the PRGroup into the Destination Group.
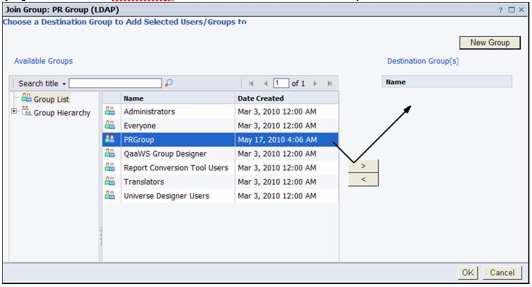
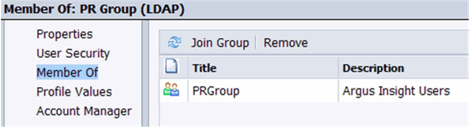
-
Click OK. Note that PR Group (LDAP) is now a member of the PRGroup.
We welcome your comments!
To open the configured email client on this computer, open an email window.
Otherwise, copy the information below to a web mail client, and send this email to SW-Doc@hpe.com.
Help Topic ID:
Product:
Topic Title:
Feedback: