


Create a filter (full calendar only)
To view specific data only, you can create a filter by adding individual filter fields, or filter field groups, or both.
Note When filtering data, the calendar performs a logical AND operation on all individual filter fields and field groups, while performs a logical OR operation on all fields within each group.
To create a filter, follow these steps:
-
Add individual filter fields as needed.
- Click Miscellaneous > Calendar to launch the calendar.
- Click the Add Filter Fields button.
- Click each tab, and select the fields you want.
- Click OK. The selected fields are displayed in the filter panel.
-
Add field groups as needed.
-
Click the Add Field Group button, select the fields that you want to add to a group, and then click OK. The fields are added to the filter panel as a group.
Alternatively, if you want to add an existing individual filter field to a group, click the down arrow button of the field, and select In Group. The field is added to the filter panel as a group.
Note Each group is identified by - [Group], under which the group fields are nested. Clicking the minus icon will collapse the group.
-
If you still want to add more fields to the group, click the down arrow button of the group, select Add Fields, and then select more fields.
Note To delete a field from the group, click the down arrow button of the field, and then click Delete.
Note To delete a group, click the down arrow button of the group, and select Delete Group.
-
-
Repeat the steps above to add more fields or groups as needed.
-
Specify one or more values as needed for each individual filter field and group field.
-
Click a field.
A value selection window opens, which can be a text input box, a Box Selector, an Advanced Selector, or a Date Picker, depending on the Field Type your administrator configured when adding the filter field.
Text input box:
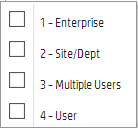
Box Selector:
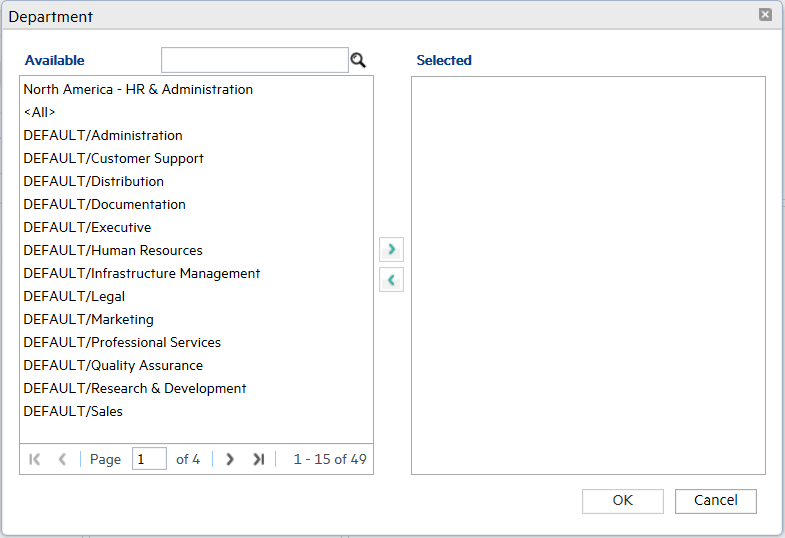
Advanced Selector:
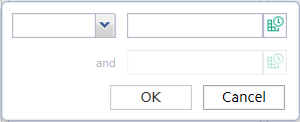
Date Picker (where you can specify a date range):
- Enter a text value (for text type only), or select one or multiple values for the field.
- Repeat the steps above for the rest of the fields.
-
The filter is created, and the calendar automatically refreshes based on the filter.
You can further save the current filtered view as a private or public favorite for later reuse. For details, see Manage favorites (full calendar only).
Related topics
Calendar Administration
Full calendar and embedded calendar
Calendar security area and role
Release Control Calendar
Working with the calendar
Launch the calendar
Understand the calendar data
Switch to a desired time slot
Select a year, month, or date from the date picker (full calendar only)
Collapse and expand panels (full calendar only)
View tooltip information
View time conflicts and custom messages
Access a record from the calendar
Select the objects (full calendar only)
Drill down to the Day view
Clear the current filter
Manage favorites (full calendar only)


