


Using the Merge tool
For each object marked as "Renamed" in the Upgrade Results list, the Upgrade Utility generates XML objects for the three versions of the object: base, customer, and upgrade.
| Version | Location | Description |
|---|---|---|
| base | Upgrade\3waymerge\work\base | An XML representation of every object that has been signatured in the pre-upgrade out-of-box version. |
| customer | Upgrade\3waymerge\work\customer | An XML representation of all objects that were tailored in the customer version and resulted in a conflict during the upgrade. |
| upgrade | Upgrade\3waymerge\work\upgrade | An XML representation of the object provided by the upgrade package of all objects that resulted in a conflict. |
Each of the three folders described above contains a sub-folder for each signatured table. You can find the XML representations of the objects in the table within these sub-folders.
The built-in, Two-Way/Three-Way Merge tool allows you to examine the upgrade and customer versions of a record in a side-by-side view as well as the base, upgrade, and customer versions of a record in a three-way view. This will help you to determine which changes to include in the final record.
This tool assists the conflict resolution process in these two ways:
- It allows you to identify where changes are located before you can visually compare the objects and to make changes manually, such as in format records.
- It allows you to identify and merge changes directly between objects, such as ScriptLibrary records.
To use the Merge tool, follow these steps:
- From the System Navigator, click System Administration > Ongoing Maintenance > Upgrade Utility > View/Merge Results.
-
In the Result drop-down list, select Renamed.
Note The Two-way/Three-way Merge tool is available only for “Renamed” records.
- Click Search.
- A list is returned that displays all the result records of the “Renamed” type. Select a record that you want to examine, and then click Merge on the toolbar.
-
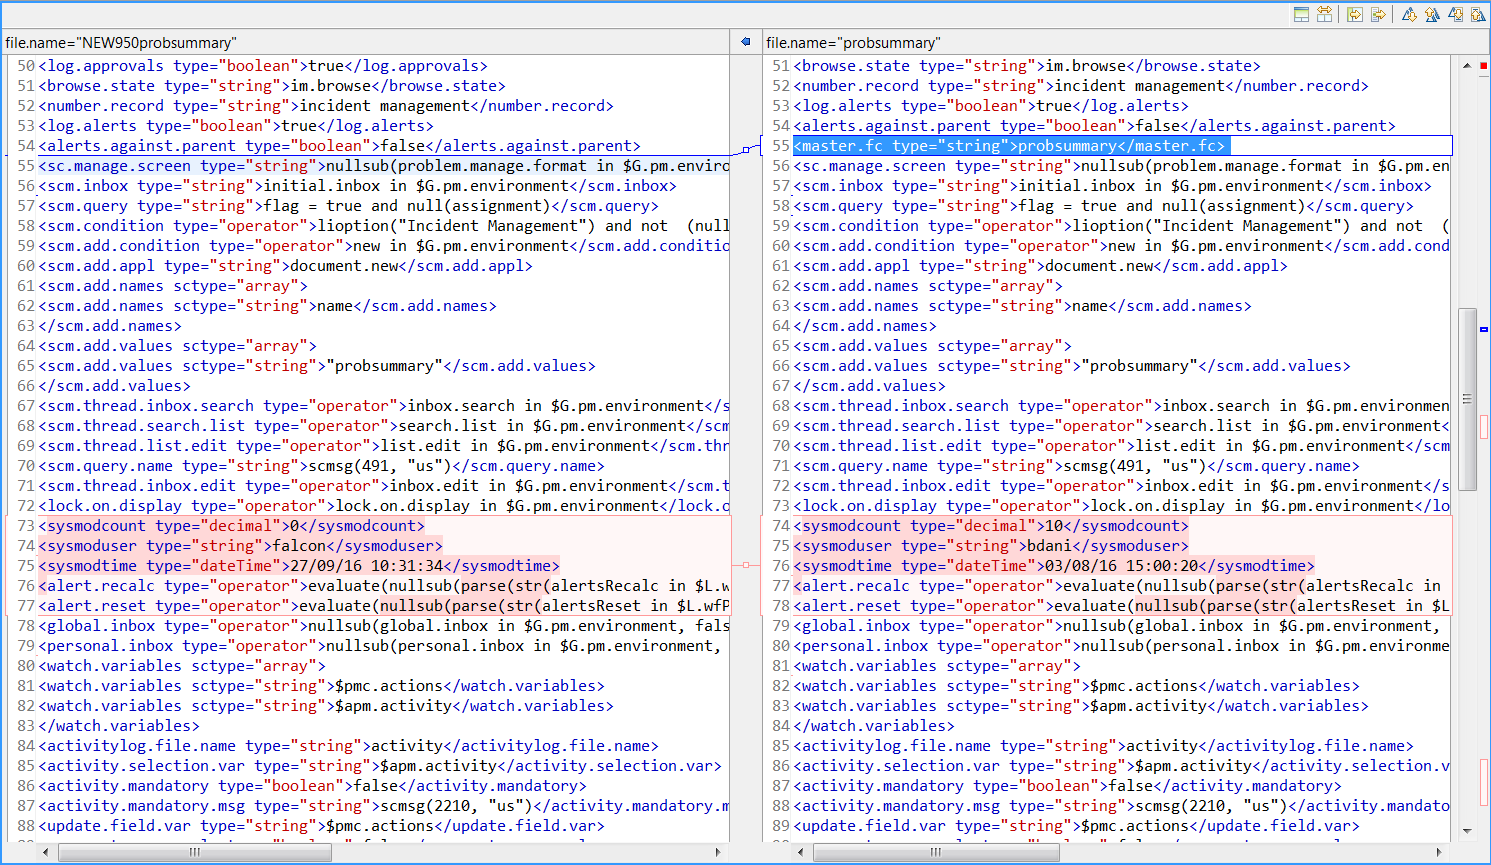
The current default merge mode is Three-Way Merge mode. The merge option is not available for format records. Instead, you can click Compare option from the More Actions menu to start the merge tool in read-only mode. You can use this mode to identify the differences in the side-by-side view or three-way view and then merge records manually in Forms Designer.
-
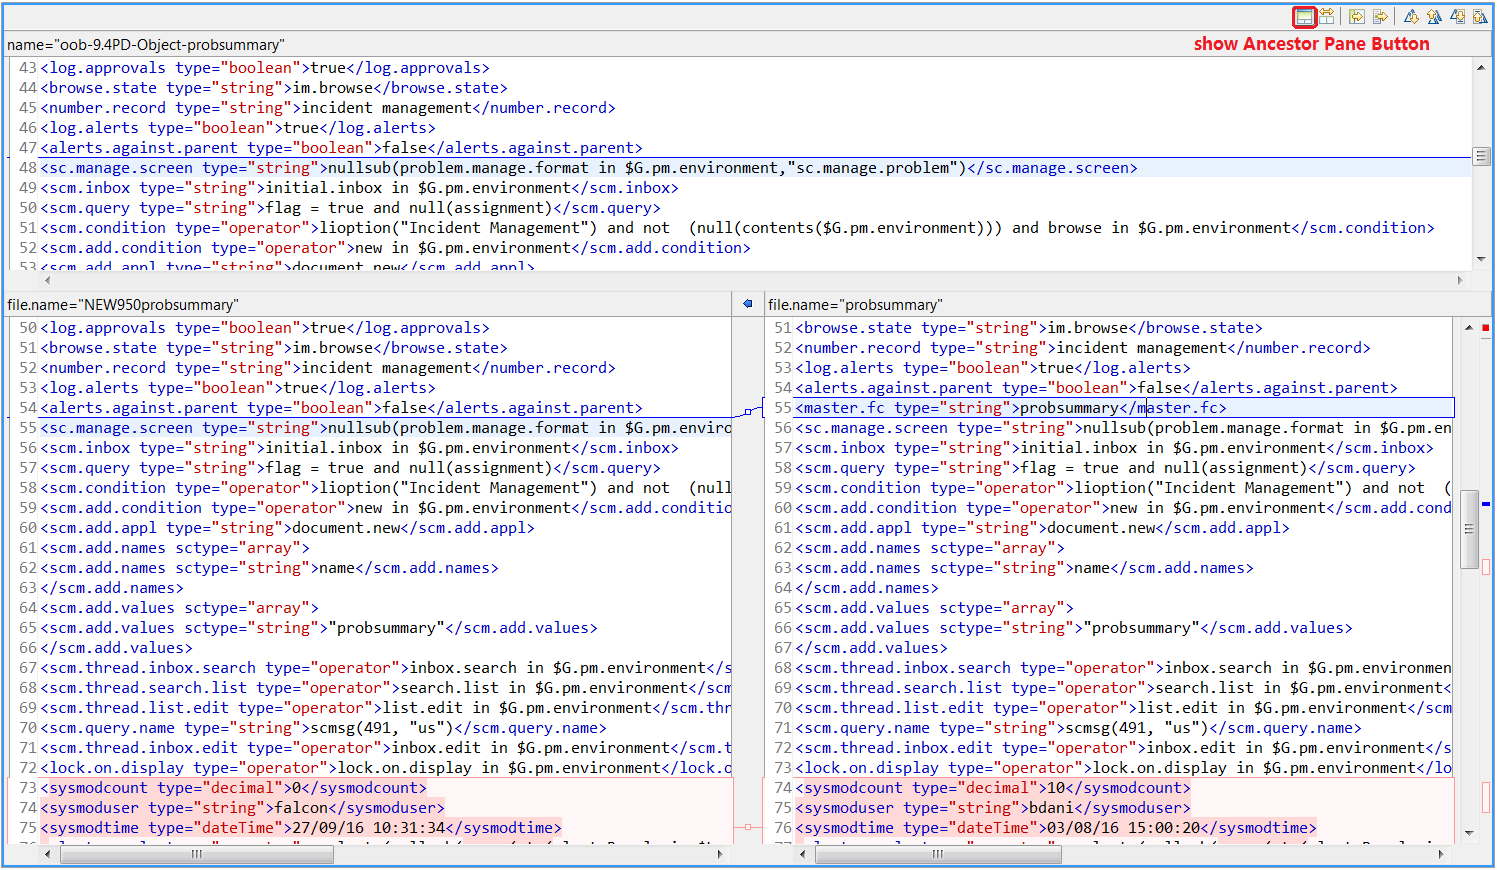
In Three-Way Merge mode, click the Show Ancestor Pane button to show the base record reference. Click the button again to hide the base record reference.
-
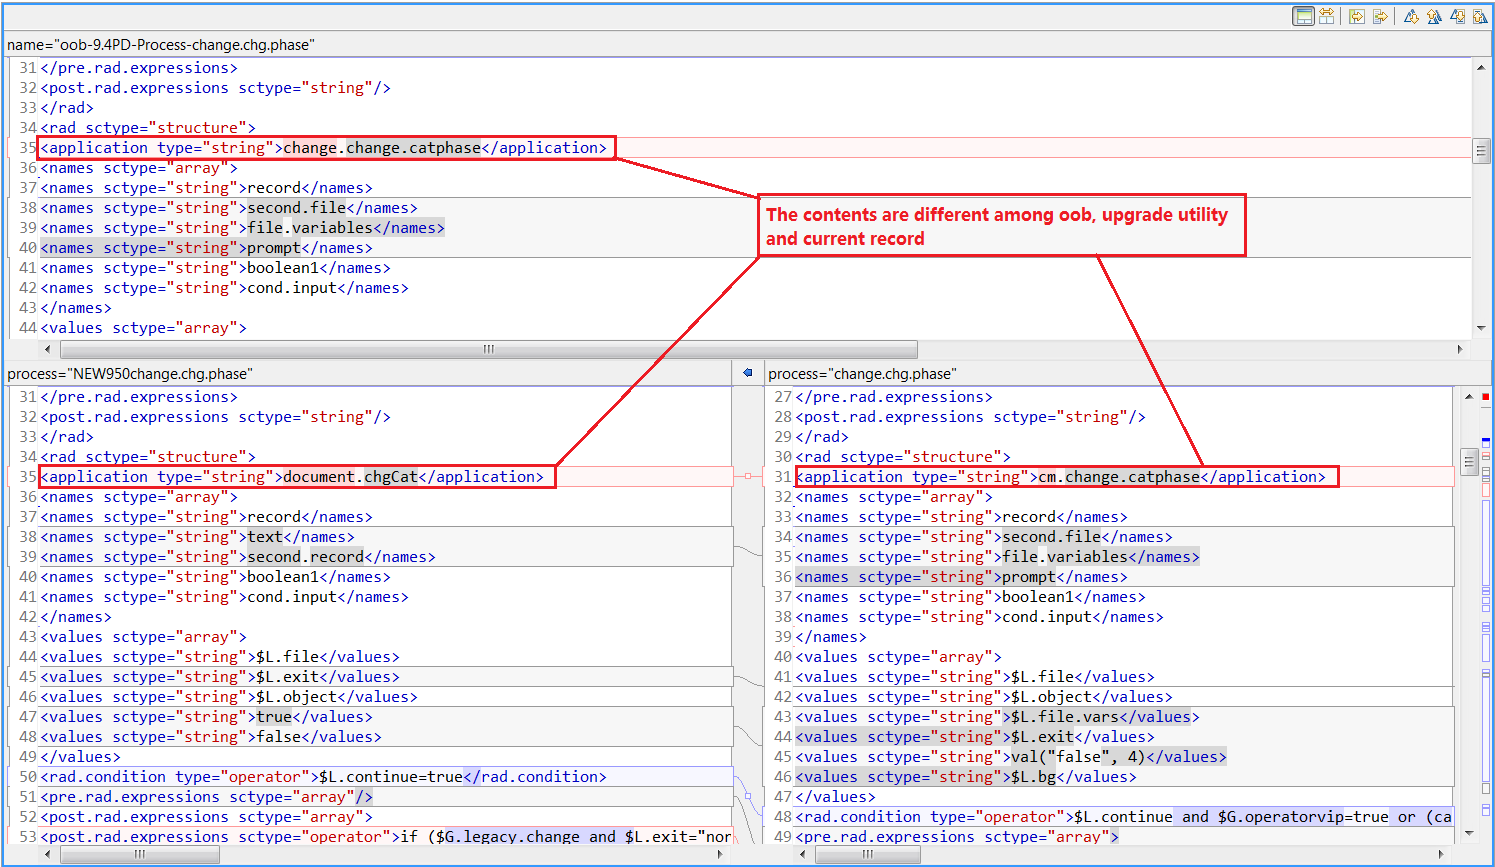
In Three-Way Merge mode, if the records of base, upgrade, and customer versions are all different, the background color is red. If you put the cursor into the records with the red background and then click the Copy Current Change from Left to Right button, the selected records from the left pane will be appended to selected records in the right pane.
- In Three-Way Merge mode, if the records of the customer version are identical to the base version, but different from the upgrade version, the background color is blue. If you put the cursor into the records with the blue background, and then click the Copy Current Change from Left to Right button the selected records from the right pane will be replaced by the selected records from the left pane.
-
In Three-Way Merge mode, if the records on the left contain red background records, and you then click the Copy All from Left to Right button, the records in the right pane with blue background will be replaced with selected records from the left pane.
Note The right records with red background will not be changed. To do this, you will need to switch to Two-Way Merge mode to use Copy All from Left to Right feature.
-
-
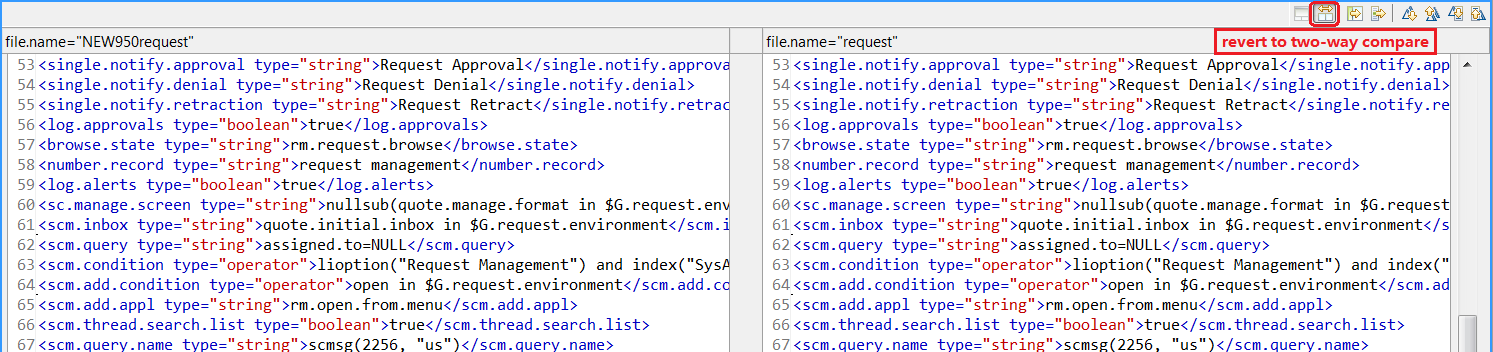
To enter Two-Way Merge mode, click the Two-Way Compare (Ignore Ancestor) button. In this mode, the Show Ancestor Pane button is disabled.
When you do this, the button label changes to Three-Way Compare. Click this again to revert to Three-Way Compare mode.
- In Two-Way-Merge mode, if one record differs upgrade and customer versions, you can click Copy Current Change from Left to Right button to replace a selected record from the left pane to the right pane.
-
In Two-Way-Merge mode, click Copy All from Left to Right button to replace all records in the right pane with the records from the left pane.
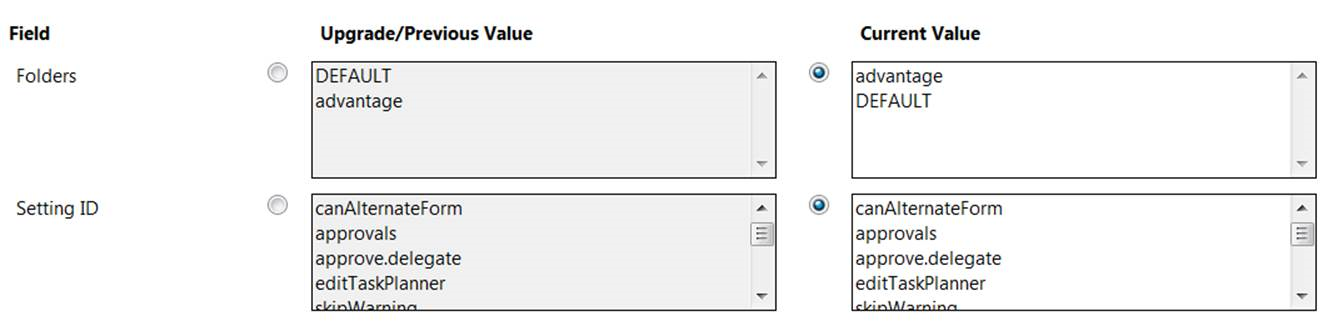
Note There is a Field-Level Merge mode for some simple structure records. This field compare mode displays either Two-Way-Merge or Three-Way-Merge. You can select the value you want to keep. Refer to the following screenshots:
The field compare mode displays Two-Way-Merge by default if there is no related out-of-box xml file in the <Upgrade Utility root folder>/3waymerge/oob/<base version>/<dbdict name> folder. Otherwise, the field compare mode displays Three-Way-Merge.

To switch between the field merge mode and the XML merge mode, click XML Merge.
Using a third party tool to visually compare objects
You may also visually compare the three versions of each object using a three-way compare and merge tool outside Service Manager, and then merge them manually in Service Manager. For example, you can use a tool, such as KDiff3 for Windows, to compare and merge objects.
To download and learn about KDiff3, visit the KDiff3 Web site.
A brief example of using KDiff3 to compare the three versions of an object is provided in the following steps:
- Install KDiff3 on the Service Manager server host.
- Open KDiff3. For more information, refer to the KDiff3 documentation.
- For the A(Base) parameter, specify the path to the Upgrade\3waymerge\work\base folder.
- For the B parameter, specify the path to the Upgrade\3waymerge\work\customer folder.
- For the C parameter, specify the path to the Upgrade\3waymerge\work\upgrade folder.
- Click OK.
- Navigate the folder structure and double-click the file that is named after the object you want to merge.
-
Compare the three versions of the object in the 3-way compare view.
-
Manually apply the changes you have identified to the object in Service Manager.


