


Version control process
Note The process in this section is provided as an example assuming that you integrate your Service Manager with SVN for tailoring version control.
The version control process includes the following:
Code repository preparation by a system administrator
The first step of your version control process is that a system administrator creates a code repository on an SVN server. This enables you to use the repository to track all changes made to applications objects as you create, develop, or extend the Service Manager applications.
To leverage the SVN version control system, follow these steps:
-
Set up the SVN server and create the repository folder for the Service Manager applications data.
-
Set up the SVN client. To do this, follow these steps:
-
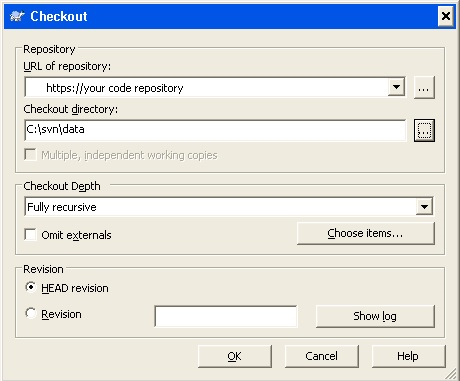
Create a folder in your local drive to check the SVN code repository in and out. For example, you create "
c:\svn\data." -
Check out the empty repository to your local folder.
-
-
Configure Service Manager to use the repository. To do this, add the following two new lines to the
sm.inifile in the<Server Dir>/RUN/directory:svc_rootdir:<Your check-out Service Manager applications path, in this example,C:\svn\data>svc_mode:2Make sure that your Service Manager server is installed on the computer that has the SVN client installed.
Note The
svc_modefor GIT should be 3. -
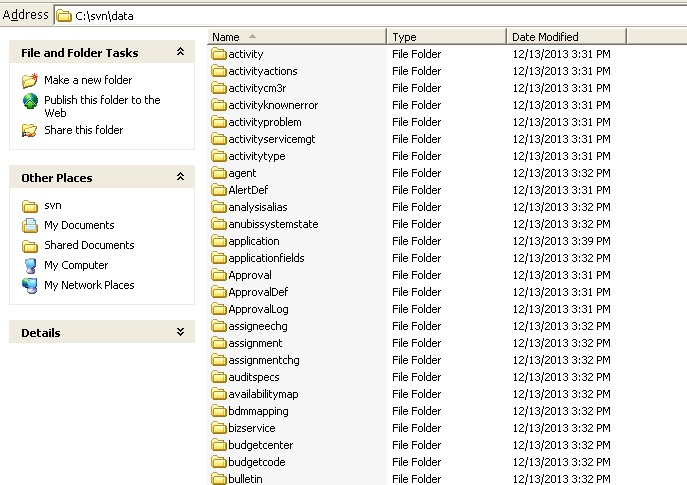
Run the
sm -svc_exportcommand to export the Service Manager applications data as XML files to thesvc_rootdirfolder.- Before you export the applications data records, be sure to stop the Service Manager server.
- For information about more parameters to export the applications data, see Parameters to import and export files.
Your output folder should resemble the following:
The XML files are exported to subfolders that are alphabetically-ordered by the unique key names of the applications, as shown in the following example for the
ScriptLibraryfolder: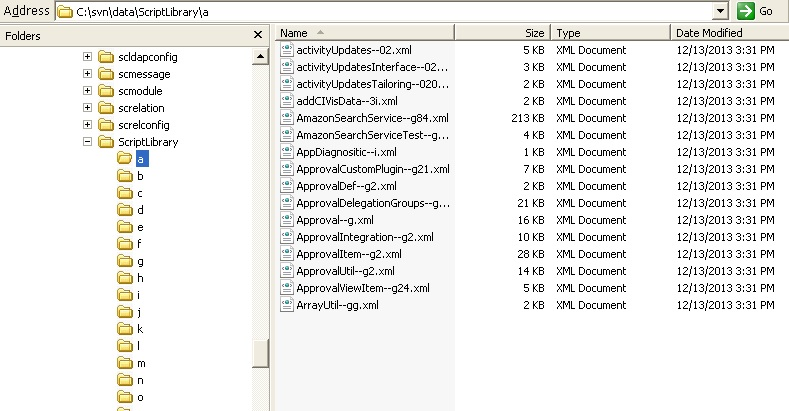
-
Commit all the files to the SVN repository.
Note You should exclude any business-related records when you commit the files, as these types of records require a great deal of capacity and decrease efficiency. These types of records include the following, but your organization’s records may differ:
Object Table Interaction incidents Incident probsummary Problem rootcause Problem Task rootcausetask Known Error knownerror Known Error Task knownerrortask Change cm3r Change Task cm3t
Development environment preparation by developers
Note Environment preparation is only required when a developer starts applications development for the first time or starts to use a new computer.
-
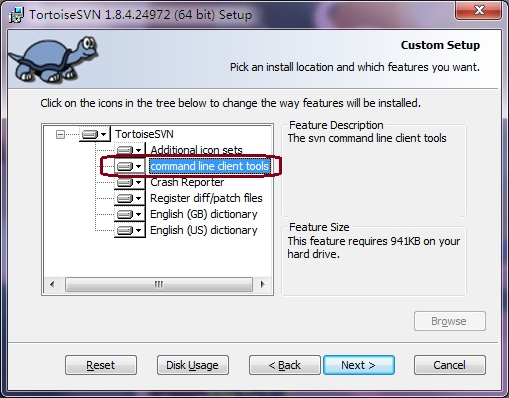
Set up your SVN client. To do this, choose the command line client tools in SVN. The following example displays the command line client tools feature in TortoiseSVN:
-
Create a folder in your local drive to check the SVN code repository in and out. For example, you create "
c:\svn\data." -
Set up Service Manager by adding the following two new lines to the
sm.inifile in the<Server Dir>/RUN/directory:svc_rootdir:<Your check-out Service Manager applications path, in this example,C:\svn\data>svc_mode:2Make sure that the Service Manager server is already installed on the same computer, and then restart the server to enable the added svc command.
Note The
svc_modefor GIT should be 3. - Check out the applications data files from the SVN repository to your local folder.
-
Import the applications data in the XML files by copying the production Service Manager database to the development system or by running the following command to a clean empty development database:
sm -svc_import -svc_cleanbuild:1Note For information about more parameters to import the XML files, see Parameters to import and export files.
Development process by developers
- Update all the source code to the latest version from the code repository.
-
Modify the records by the Service Manager client and then save the changes to automatically synchronize the XML files in the
svc_rootdirdirectory, as shown in the following example for the process record: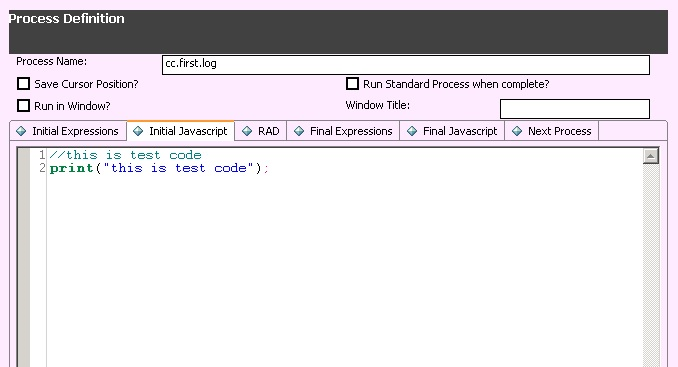
-
Check the modified code into the code repository. The commit window displays all the changed files.
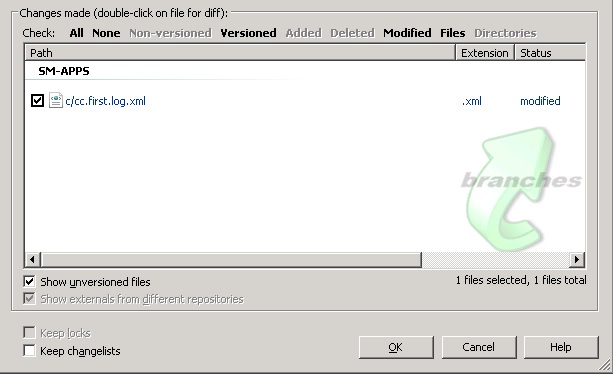
Note The commit window may not show all the changed files in the SM-APPS change list, and this problem occurs when the tables you have modified are not present in the
svc_include.propsproperty file in your<Server Dir>/RUNdirectory. To solve the problem, manually add the names of the tables to this file.
In this way, SVN retains a clear history of any changes made to a specific application.
Related topics
Implementing version control for your tailoring
Version control best practice
Parameters to import and export files


