


How to Add a CI Attribute to the Query Layout
To add an existing CI attribute to the integration, you must add this attribute to the layout setting from the query that synchronizes the CI type. You must know which CI type contains the CI attributes that you want to add to the integration.
To add a CI attribute to the query layout:
- Log in to UCMDB as an administrator.
- Navigate to Modeling > Modeling Studio.
- For Resource Type, select Queries.
- From the Queries navigation tree, click Integration > Service Manager.
- Select the query that manages the CI type whose attributes you want to add to the integration. For example, Push > SM Computer Push 2.0. UCMDB displays the TQL layout of the query.
- Select the node from the query layout that contains the CI attribute that you want to add to the integration. For example, Root.
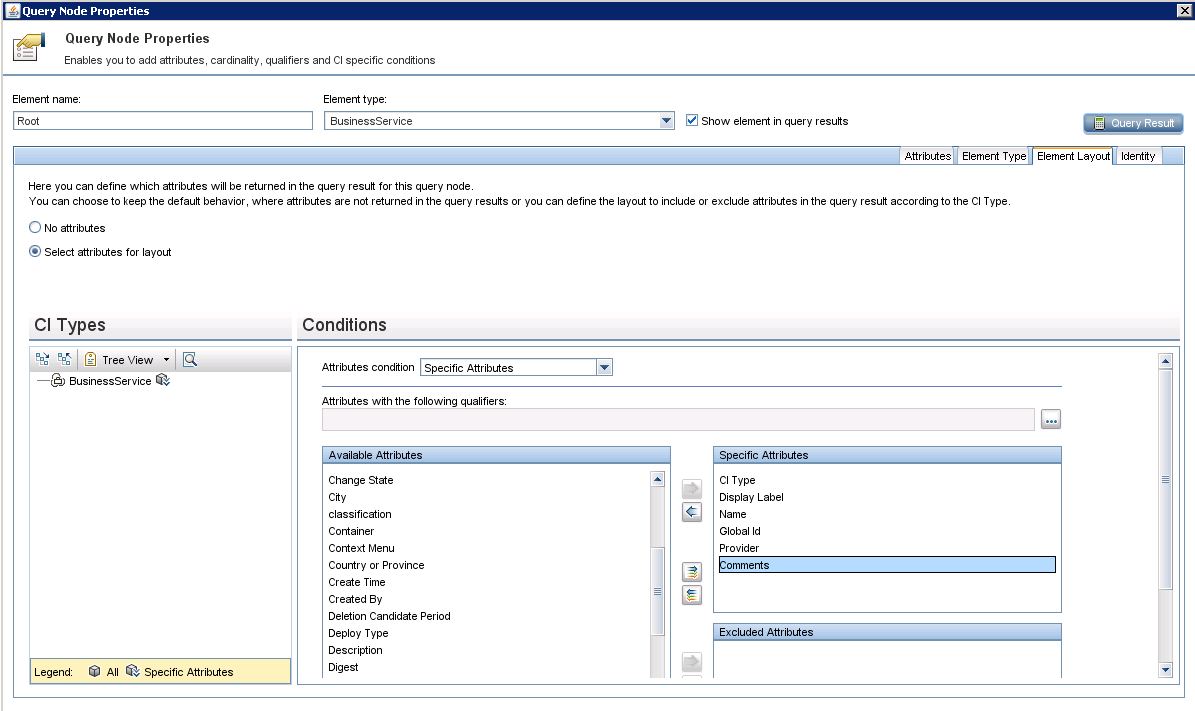
- Right-click the node and select Query Node Properties. The Query Node Properties window opens.
- Select the CI type (Database in this example), and click the Element Layout tab.
-
Select the CI attribute that you that want to include in the integration from the Available Attributes list, and click the Add icon to add it to Specific Attributes list. For example, Comments.
- Click OK to save the node properties.
- Click the Save icon
 to save the query.
Now, the CI attribute has been added to the relevant query layout. Next, you need to add a Service Manager web service field that will be mapped to this UCMDB CI attribute.


