


How to Add a Web Service Field for the Service Manager CI Type
The integration uses only a subset of the CI attributes available from your Service Manager (SM) system. CI attributes must be mapped between UCMDB and SM. Before creating a new SM CI attribute that will be mapped to the UCMDB CI attribute you added previously, you must determine if there are any existing CI attributes in your Service Manager system that provide the data you want. In most cases, there is an existing attribute tracking the data that you want to add to the integration. For example, the Computer CI type contains many attributes that you can add to the integration.
If you decide to use an existing attribute instead of creating a new one, you can directly modify the web service definition in Service Manager to expose that attribute, and then map this SM attribute to the UCMDB attribute by using the UCMDB Visual Mapping tool (see How to Map the CI Attribute to a Service Manager Web Service Field).
If you decide to add a new attribute, follow the steps below. The steps vary depending on the data type of the attribute: simple (string, for example), or complex (array of structure or structure).
Add a Simple Attribute to the SM CI Type
As an example, the following steps illustrate how to add a simple attribute (comments) to an existing CI type (Business Service).
- Log in to UCMDB as a system administrator.
-
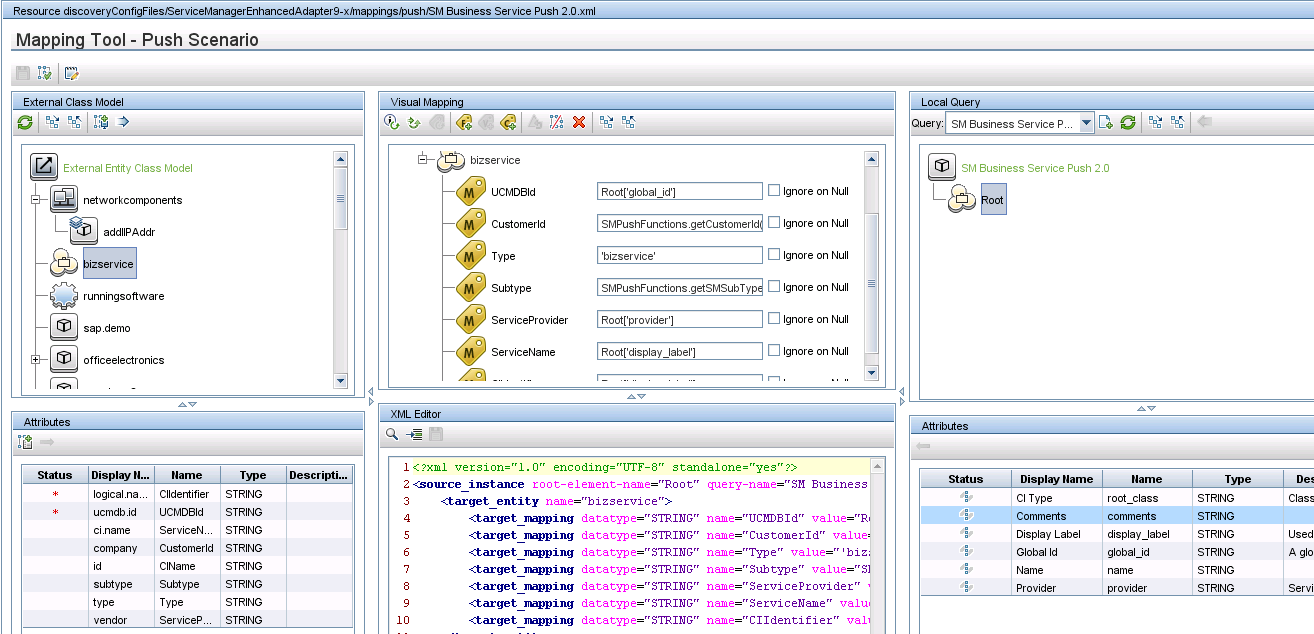
Click Data Flow Management > Adapter Management, and then select ServiceManagerEnhancedAdapter 9-x to open the corresponding XML mapping file (SM Business Service 2.0.xml in this example) with the Visual Mapping tool editor.
-
On the External Class Model pane, select the CI type (bizservice).
-
On the left-side Attributes pane (which displays the fields that are retrieved from the Service Manager web service object for the Business Service CI type), click the Add New Attribute to Selected External Node icon.
-
Type a name and display label for the new attribute, and click OK.
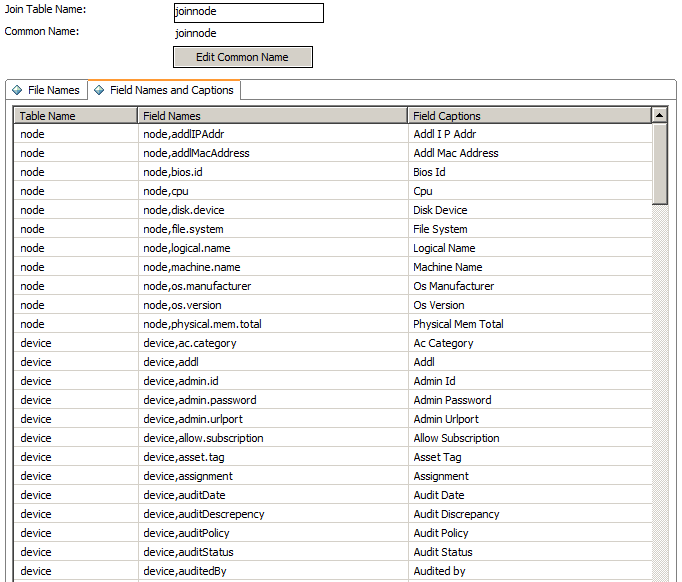
Caution If the you enter a name that duplicates or is part of an existing field name in the attribute table of the Service Manager CI type or in the device table, an error will occur indicating the attribute could not be created.

-
Click OK again to confirm the attribute creation.
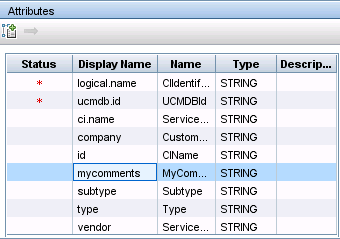
The new attribute (mycomments) appears in the Service Manager attribute list.
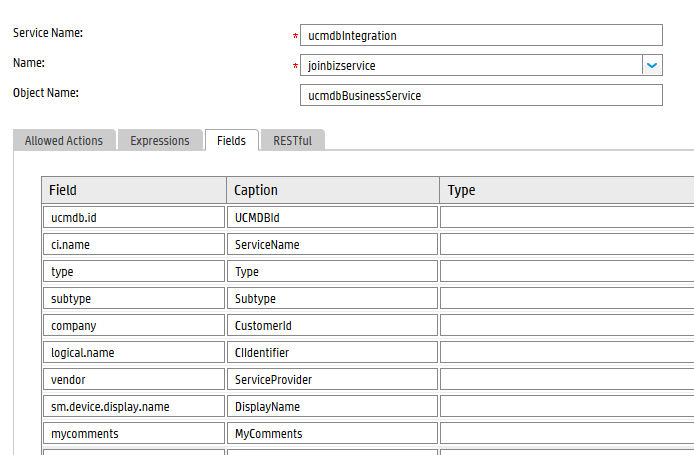
At the same time, UCMDB invokes the Service Manager Web Service API to add the new attribute, expose it in the Web Service API and set it as a managed field. You can open the web service object in Service Manager to verify the new attribute (Tailoring > Web Services > Web Service Configuration).
-
Save the configuration file.
Add an Array of Structure or Structure to the CI Type
Service Manager uses an Array of Structure or Structure to store complex attributes, for example, the ports of a Computer CI. You can also create such kind of complex attributes through the Visual Mapping tool in UCMDB.
The following steps illustrate how to add an attribute named comport to the Computer CI type.
- Log in to UCMDB as a system administrator.
-
Open the corresponding XML mapping file (SM Computer Push 2.0.xml in this example), with the Visual Mapping tool editor.
-
Select the CI type (computer), and click the Add New CI Type to External Class Model icon.
-
In the child CI type creation dialog that appears, enter a name and description for the attribute, select Many to One for Relation with Parent if the attribute data type is array of structure or select One to One if the data type is structure.
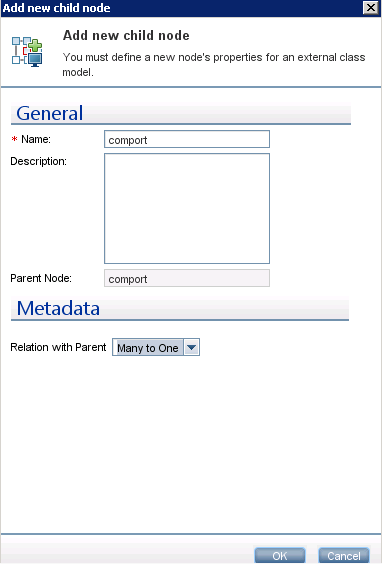
- Click OK. The attribute is created on the Service Manager side.
-
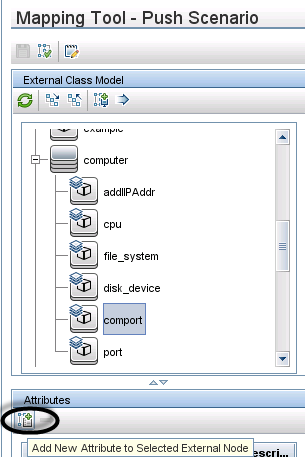
Select the new attribute in the External Class Model pane, and click the Add New Attribute to Selected External Node icon.
-
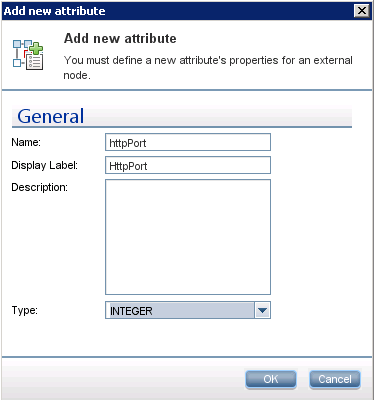
Add a field (httpPort) to the array of structure, and click OK. Click OK again to confirm the attribute creation.
-
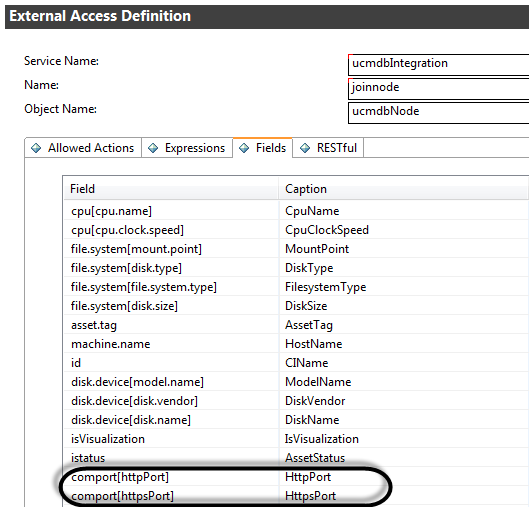
Repeat the previous two steps to add more fields to the array of structure as needed.

The attribute is also automatically added to the corresponding web service object in Service Manager.
- Save the configuration file.
Next, you need to map this Service Manager CI type attribute to the one you added previously in UCMDB.


