


How to Add the CI Attribute to the UCMDB Class Model
The integration only uses a subset of the CI attributes available from your UCMDB system. Out-of-the-box, the integration consists of CI attributes that are typically managed from a Service Manager system such as host name and host DNS name. Before creating a new UCMDB CI attribute, you should determine if there are any existing CI attributes in your UCMDB system that provide the data you want. In most cases, there is an existing attribute tracking the data that you want to add to the integration. For example, the Node CI type contains many attributes that you can add to the integration.
The following steps illustrate how to add a new CI attribute to an existing CI type. This is not the expected typical scenario. Typically, you would add an existing CI attribute to the integration, which means you do not need to perform these steps.
Note The integration does not require any special steps to add a CI attribute to the UCMDB class model. You can use the standard CI attribute creation procedures to add a CI attribute. For more information on CI attribute creation, see the UCMDB Help Center.
As an example, the following steps will add an attribute named comments to the Business Service CI type.
To add a CI attribute to the UCMDB class model:
- Log in to UCMDB as an administrator.
- Navigate to Modeling > CI Type Manager.
- Select the CI type to which you want to add a new CI attribute from the CI Types navigation tree. For example, ConfigurationItem > BusinessElement > BusinessService.
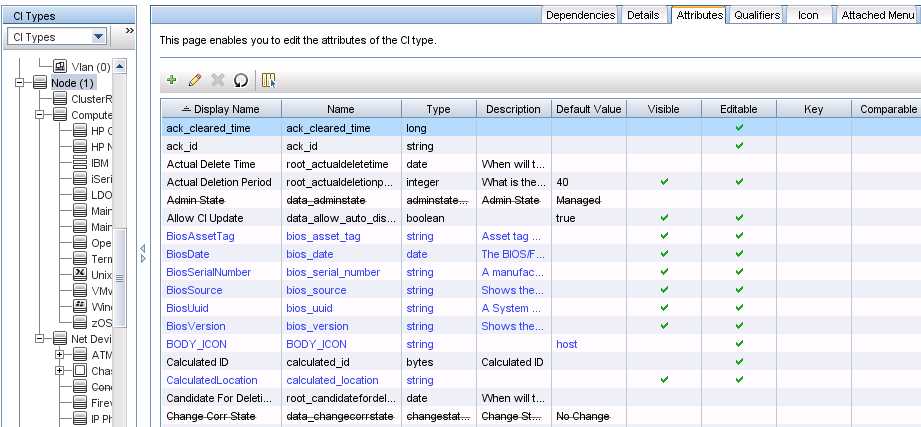
- Click the Attributes tab.
- Click the Add icon.

The Add Attribute window opens.
- In Attribute Name, type the unique name you want to use for the new CI attribute. For example, comments.
Caution The name cannot include any of the following characters: ‘ / \ [ ] : | < > + = ; , ? *.
- In Display Name, type the name that you want UCMDB to display in the interface. For example, Comments.
- (Optional) In Description, type a description of the new CI attribute.
- In Attribute Type, select Primitive or Enumeration/List depending on the data type of the attribute. For example, select Primitive and select string.
- In Value Size, type the maximum character length that the attribute can have. For example, 300.
- Select the Enable default value option, and enter a default value. Or, do not select this option to leave the default value blank.
- Click OK to save the attribute.
- Click the Save icon
 to save attribute changes to the CI type.
Now, the attribute has been added to the CI type. Next, you need to add the attribute to a query that synchronizes the CI type. See How to Add a CI Attribute to the Query Layout.


