


Task 13: Enable Service Manager Collaboration
By default, the Collaboration feature is disabled after applying the Service Manager 9.60 web tier. In this task, you will log on to Service Manager and set up the Collaboration Configuration.
Follow these steps:
- Access https://training.sm-demo.com/webtier-9.60/index.do in your web browser, and then log on to Service Manager as a system administrator.
-
Click System Administration > Ongoing Maintenance > Collaboration > Configuration to open the Collaboration Settings form.
- Select the Enable Collaboration check box to enable Service Manager Collaboration.
- (Optional) Select the Enable ESS Lync User check box so that the Skype users can join IT Collaboration conversations by using Skype.
-
Select whether to enable the End User Chat virtual agent or not.
Important
To enable the End User Chat virtual agent, your enterprise must own a Smart Analytics license and have enabled Smart Analytics. Otherwise, you cannot save your setting in this Enable End User Chat section.
-
Specify field values as described in the following table.
Field Value in this task Description Maximum Participants Per Conversation 200 The maximum number of participants in a conversation. The default value is 200. Notification Delay Time (Seconds) 30 The maximum time that an online participant has to wait to receive the live conversation notifications. The default value is 30. Notification delay is disabled if this value is set to 0 or minus. Chat Service URL https://training.sm-demo.com:8448/ The chat service URL. BOSH Path /of-http-bind/ The HTTP binding (also known as BOSH) path for Openfire to send XMPP messages. In the sample reverse proxy configurations in Task 5: Deploy the chat server, this path is
/of-http-bind/.This field is read-only.
Chat Service Path /chatservice/ The chat service base path for Restful resources.
This field is read-only.
Domain Name training.sm-demo.com Domain name of the Openfire server.
This field is read-only.
Plugin Path /of-plugins/ The Openfire plugin URL. In the sample reverse proxy configurations in Task 5: Deploy the chat server, this value is
/of-plugins/.This field is read-only.
- Click Save and OK. It may take a while for the configurations to take effect.
-
Log out of the web client, and then log on as the system administrator again.
If the system displays the following error message when you log in, check all your settings and then refer to the "Troubleshooting - Failed to connect to the Collaboration server" section:

-
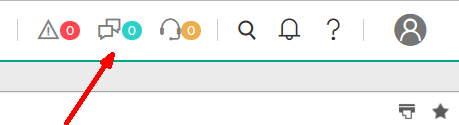
Verify that a Chat Notification button is displayed at the top-right corner of the screen. You are not able to click it because chat notifications are not available yet.
-
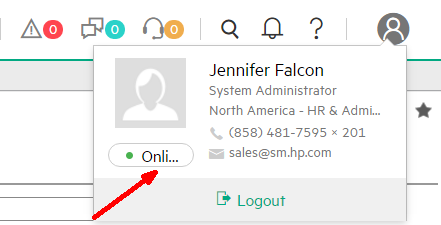
Click the User Information button to show your User Basic Information Card. Your presence status is now Online.
-
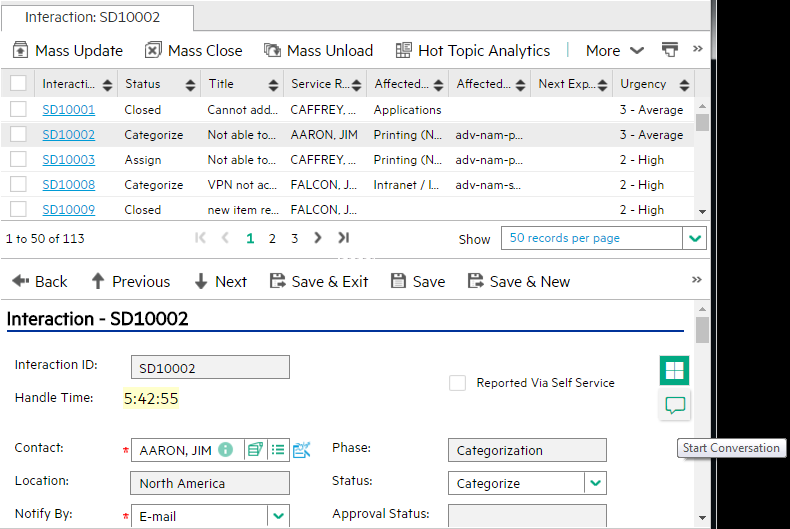
Open an interaction record. The Start Conversation button floats on the upper-right corner of the detailed view of this record.
-
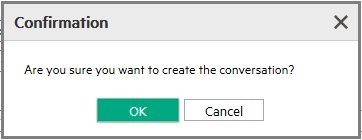
Click the Start Conversation button, and then click OK in the confirmation dialog.
-
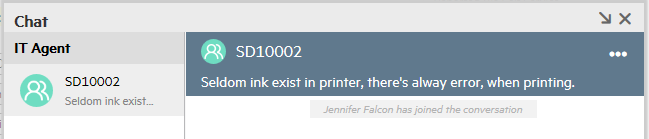
A conversation starts with the ID and title of the record displayed on the header of the conversation window.
Congratulations! You have successfully deployed Service Manager Collaboration!
Create SSL profile for two-way authentication between the chat service and the Service Manager server
Follow these steps:
- Log on to Service Manager as a system administrator.
- Click System Administration > Ongoing Maintenance > Collaboration > Configuration to open the Collaboration Settings form.
-
Update the value in the Chat Service Domain and Port field to SSL link https://<FQDN of Chat Service>:8448/.
- Save your changes.


