


Task 5: Deploy the chat server
Note
-
If you are upgrading the chat server from an earlier version to 9.60, skip this task and refer to
- The Openfire chat server can be deployed on the Windows system only, but it works well with the Service Manager servers running on all supported platforms such as Linux.
- Openfire shares the Service Manager database. You may want to back up the Service Manager database before beginning this task.
Follow these steps:
- Save the chat server installer sm9.60.xxxx_ChatServer.zip from Service Manager installation package to your computer.
- Navigate to the C:\Program Files (x86)\Micro Focus\Service Manager 9.60 folder and create a new directory called ChatServer.
- Extract the sm9.60.xxxx_ChatServer.zip file to the C:\Program Files (x86)\Micro Focus\Service Manager 9.60\ChatServer folder.
-
Open a DOS command prompt. Navigate to the C:\Program Files (x86)\Micro Focus\Service Manager 9.60\ChatServer\bin folder, and then run openfire.bat.
You can also install the Openfire Chat Server service to start the chat server. Follow the steps:
-
To install Openfire Chat Server as a Windows service, open a DOS command prompt and change the directory to C:\Program Files (x86)\Micro Focus\Service Manager 9.60\ChatServer\bin.
cd C:\Program Files (x86)\Micro Focus\Service Manager 9.60\ChatServer\bin
-
Run the install-service.bat command to install the Service Manager chat service as a Windows service.

You can run nssm edit HpeSmChatServer to edit the corresponding configurations after the Windows service is installed.
Tip To remove this Windows service, run the nssm remove HpeSmChatServer command.
- Go to Windows Services, and verify that the new Service Manager 9.60.00xx Chat Server service has been installed. Then start the service.
-
-
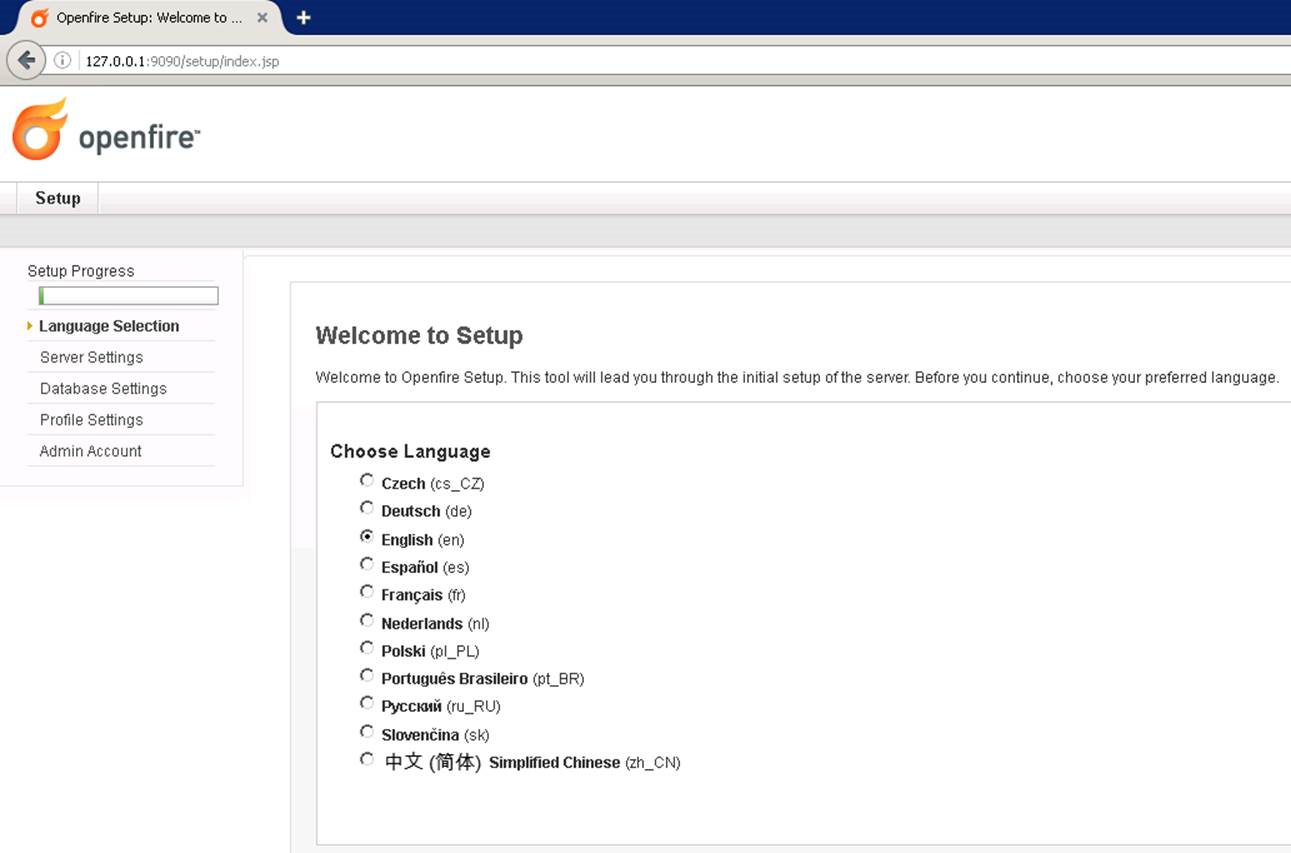
Access http://localhost:9090/setup/index.jsp from the web browser. The Openfire Setup: Welcome to Setup screen is displayed.
Note You can also visit http://127.0.0.1:9090/setup/index.jsp or http://training.sm-demo.com:9090/setup/index.jsp to access the Openfire Administrator Console web page at any time.
-
Select English and click Continue.
The Openfire Administrator Console supports Czech (cs), German (de), English (en), Spanish (es), French (fr), Dutch (nl), Polish (pl_PL), Brazilian Portuguese (pt_BR), Russian (ru_RU), Slovak (sk), and Simplified Chinese (zh_CN).
-
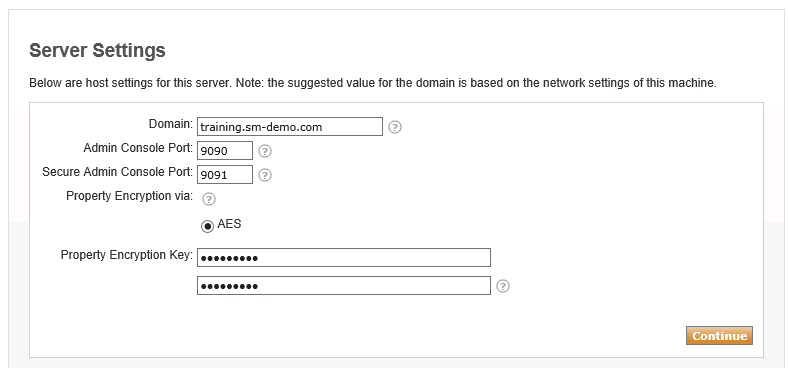
You need to specify the database details so that Openfire can connect to your Service Manager database and create the DB tables. Update the fields as illustrated below on the Server Settings screen, and then click Continue.
Parameter
Value in this task Description Domain training.sm-demo.com Domain name of the Openfire server host. In the all-in-one example, set the domain to training.sm-demo.com. Note that this domain has no relationship with LW-SSO. You can type any value, including symbols such as underline(_) and hyphen(-). This value is used on the SM collaboration setting page later. Admin Console Port 9090 The port used for unsecured Admin Console access. The default value is 9090. Leave this port to its default value if you do not need to open an HTTP port. Secure Admin Console Port 9091 The HTTPS port used for secured Openfire Admin Console access. The default value is 9091. Property Encryption via AES The encryption algorithm used by the Openfire server to prevent sensitive data from being exposed. The default option is AES. Property Encryption Key smdemotraining Specify the AES encryption key. This field is mandatory. You can specify any value in the first field, and then type this value again in the second field. -
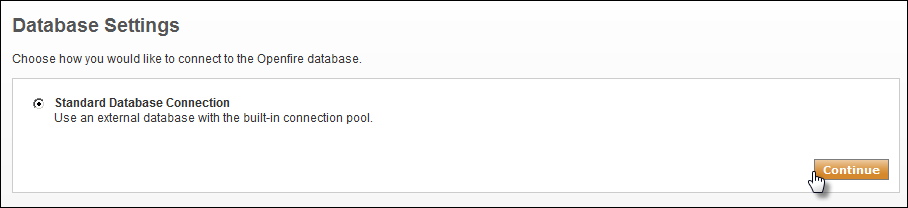
Click Continue on the Database Settings screen.
-
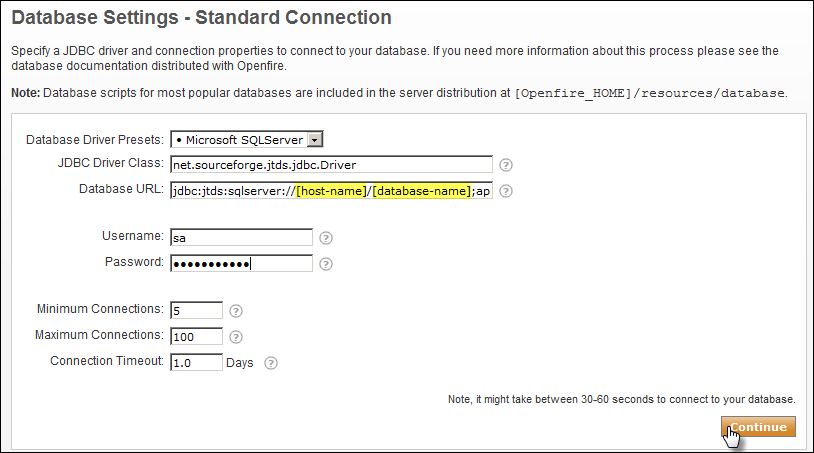
Specify a JDBC driver and the connection properties to connect to your database. Update the fields as illustrated below on the Database Settings – Standard Connection screen, and then click Continue.
Parameter
Value in this task Description Database Driver Presets Microsoft SQL Server Select the database type of Service Manager. You can select either SQL server or Oracle. JDBC Driver Class Do not modify the default value Value in this field is populated automatically after the database type is selected. Database URL jdbc:jtds:sqlserver://SMDEMOBETA/SMDEMO;appName=jive Value in this field is populated automatically after the database type is selected.
- The default Oracle database URL is
jdbc:oracle:thin:@[host-name]:1521:[SID], where [host-name] and [SID] are the actual values of you server. -
The default Microsoft SQL server database URL is
jdbc:jtds:sqlserver://[host-name]/[database-name];appName=jive, where [host-name] and [database-name] are the actual values of you server.If you have multiple database instances on a SQL server, refer to the Named and Multiple SQL Server Instances section on the Building the Connection URL web page for more information about the database URL configuration.
Username <Your Service Manager database user name> Specify the user name to log on to the Service Manager database. Password <Your Service Manager database password> Specify the password to log on to the Service Manager database. We suggest that you use a strong password. Minimum Connections 5 Specify the minimum number of database connections the connection pool should maintain. The default value is 5. Maximum Connections 100 Specify the maximum number of database connections the connection pool should maintain. The default value is 100. Connection Timeout 1.0 Specify the time (in days) before connections in the connection pool are recycled. The default value is 1.0. Note
- If you are working with an Oracle database, copy the JDBC driver (for example, ojdbc6.jar) to the <sm9.xx.00xx-ChatServer>\lib directory before starting the chat server.
- Service Manager Collaboration uses the Service Manager database and inserts a number of Openfire tables into the database. Each table name is prefixed with "
of". Therefore, you need to update the [host-name] with your database host name, and the [database-name] with your Service Manager database name in the Database URL field. It may take a while to connect to the database.
- The default Oracle database URL is
-
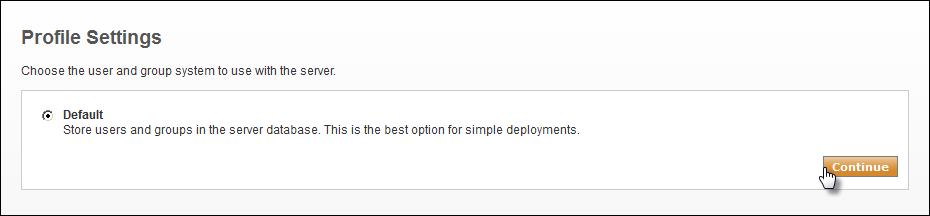
Click Continue on the Profile Settings screen.
-
Create the user name and password for your Openfire administrator on the Administrator Account screen. Later you will log on to Openfire as
adminwith this password. Click Continue to finish the Openfire installation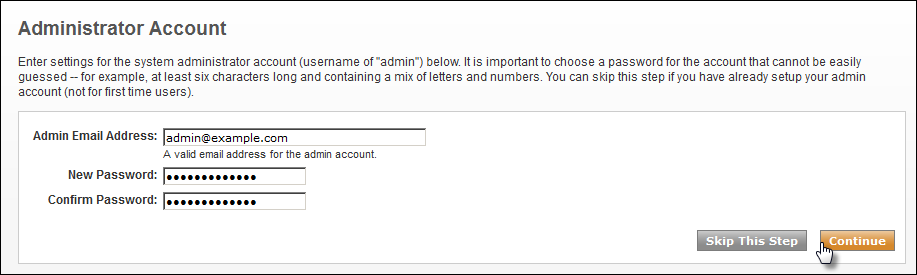
-
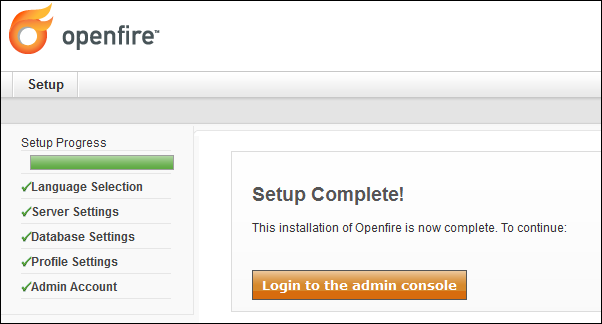
Your Openfire setup is complete now.
-
Click the Login to the admin console button to log on to your Openfire Administration Console.
-
Click Server > Server Manager > System Properties, and then manually add the following properties to the list:
Property name Description Property value xmpp.client.processing.threads The thread pool of the woker pool in Openfire to process incoming XMPP requests. The default value is 32, which can be increased to 254 for heavy loads. 32 lyncplugin.brokerService.memoryLimit The total memory size of the message queues between Collaboration and the Skype server when you are integrating Collaboration with Skype. You can increase the value for heavy message queues. 1024 lyncplugin.brokerService.policy.memoryLimit The memory size of each message queue between Collaboration and the Skype server when you are integrating Collaboration with Skype. You can increase the value when the message queue is considered as a bottleneck. 64 -
Click Group Chat > Group Chat Settings > conference > Other Settings.
-
In the Conversation Logging section, update the values as follows:
Property Description Value Flush interval (seconds) The two parameters control the frequency of inserting the chat log to the database.
The recommended value is 3000 records per 30s.30 Batch size 3000 - Click Save Settings.
-
Close the web browser tab.
-
Go to Windows Services, and then stop the Service Manager 9.60.00xx Chat Server service.
Replace the server certificate and OpenSSL connection
Important The *.bat files in the Single Signon Authentication.zip package are used for certificate generation for testing and demonstration purposes on a test environment only. We recommend you to use more formal certificates generated by a third party organization so as to meet higher security standards on a production environment.
Follow these steps:
-
Download Single Signon Authentication.zip and save it to your computer. Unzip this package, and then run tso_srv_slvt.bat and tso_cln_slvt.bat to create the following certificate files:
Directory Files Certs\ Cacerts
clientpubkey.cert
mycacert.pem
mycacert.srl
scclientcert.pem
smservercert.pem
trustedclients.keystoreKey\ cakey.pem
server.keystore
<FQDN of the Chat Server host>.keystoreNote
- You must set the JAVA_HOME parameter in the two .bat files to the installation path of the JRE that you want to use. For example,
JAVA_HOME="C:\Program Files\Java\jdk1.8.0_81\jre". -
If this is not the first time that you run these two files, you need to navigate to the %JAVA_HOME%/lib/security directory and then run the keytool -list -keystore cacerts|findstr servicemanager command to check whether the cacerts file exists or not. If this file already exists, you may need remove it by running the keytool -delete -alias servicemanager -keystore cacerts command before you run the server bat files.
-
You must run tso_srv_slvt.bat before tso_cln_slvt.bat. Additionally, make sure that no CA uses
servicemanageras an alias before running tso_srv_slvt.bat. -
When running tso_srv_slvt.bat, make sure that you type the same FQDN of the chat server host when you are asked to enter the common name of the root CA and of the server certificate.
-
When running tso_cln_svlt.bat, you need to append the FQDN of the chat server host as the bat parameter. For example,
tso_cln_svlt.bat training.sm-demo.com. Make sure that you type the same FQDN of the chat server host when you are asked to enter your first and last name.
- You must set the JAVA_HOME parameter in the two .bat files to the installation path of the JRE that you want to use. For example,
-
Log on to your Openfire Administration Console, and then click Server > Server Manager > System Properties. Alternatively, access https://localhost:9091/server-properties.jsp.
-
Add the following properties:
Property Name Property Value xmpp.socket.ssl.storeType <JKS or PKCS12> xmpp.socket.ssl.keystore <path of the keystore, relative to OpenfireHome> xmpp.socket.ssl.keypass <password of server.keystore> xmpp.socket.ssl.truststore <path of the trust store path> xmpp.socket.ssl.trustpass <password of CA truststore> xmpp.socket.ssl.client.truststore <path of the trusted client store> xmpp.socket.ssl.client.trustpass <password of trustedclients> Also, you can configuring these SSL keystore related parameters in /conf/openfire.xml. See the following sample default configuration:
<securityConfig>
    <ssl>
       <keyStoreType>jks</keyStoreType>
       <keyStorePath>resources/security/keystore</keyStorePath>
       <keyStorePassword>changeit</keyStorePassword>
       <trustStorePath>resources/security/truststore</trustStorePath>
       <trustStorePassword>changeit</trustStorePassword>
       <clientTrustStorePath>resources/security/client.truststore</clientTrustStorePath>
       <clientTrustStorePassword>changeit</clientTrustStorePassword>
    </ssl>
    …
</ securityConfig>
After you have updated these parameters in openfire.xml, save your changes and then restart the chat server to encrypt these sensitive values automatically.
-
Follow these steps to replace the certificate files.
- Copy Cacerts, trustedclients.keystore and server.keystore to the C:\Program Files (x86)\Micro Focus\Service Manager 9.60\ChatServer\resources\security folder, and delete the original certificate files in this folder.
-
Rename Cacerts to truststore.
-
Rename trustedclients.keystore to client.truststore.
-
Rename server.keystore to keystore.
- Restart the Openfire chat server.


